
Table of Contents
For those who’ve bested Dredgen Sere within the Equilibrium dungeon, your journey is simply beginning. The Approach Between quest leads the Guardian to their very own Praxic Trial, full with steerage from Aunor Mahal, and finishing it will get you some extraordinarily useful rewards.
The Approach Between follows the same construction for those who’re acquainted with dungeon quests. You want a number of clears to get to the tip of it, and you will need to clear up just a few puzzles alongside every step. Fortunately for guardians, Equilibrium is on the shorter facet of dungeons for those who’re acquainted with the mechanics, and the bosses don’t have absurdly excessive well being swimming pools ( you, Ghosts of the Deep).
Right here’s a breakdown of the best way to full The Approach Between in Future 2‘s Equilibrium dungeon—and what you get on your troubles.
Future 2 The Approach Between quest information
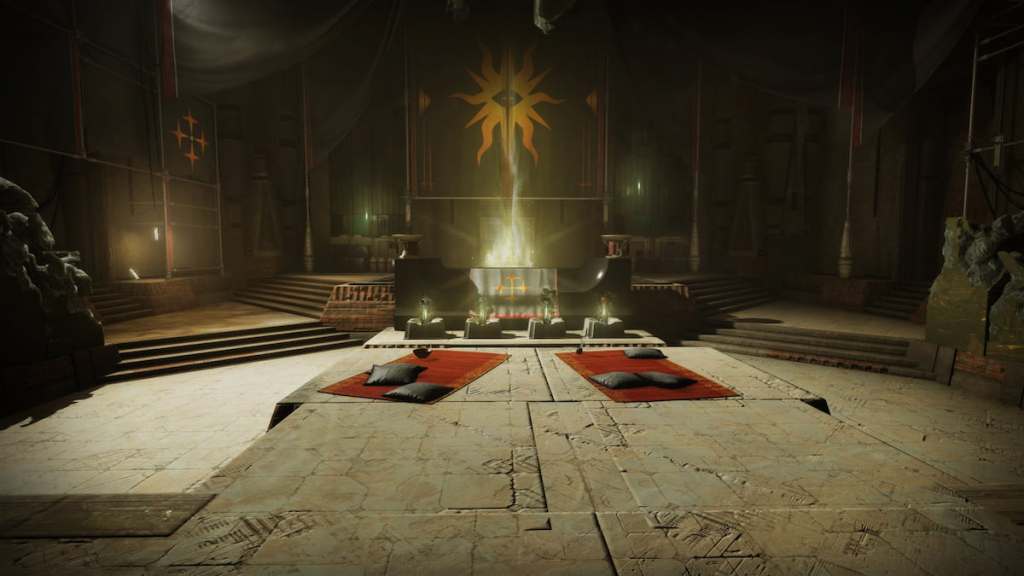
This quest really begins after beating Equilibrium for the primary time. Taking down Dredgen Sere drops an Built-in Relic on the finish of the run. Take it to the Praxic Temple in the beginning of the dungeon, permitting you to open the door that was closed and main you additional into the construction.
Head inside and search for an space the place you may place the artifact you bought from Dredgen Sere. It will spawn a Taken Blight within the mission, similar to those required to get the Praxic Blade catalysts in Hearth and Ice.
The hunt follows a sample: destroy the Taken Blights, discover a relic scattered across the mission, kill the ultimate boss, then redo the dungeon and place the artifact contained in the temple. We’ll break the detailed places beneath, however some fast hits to bear in mind are:
- After the primary encounter, simply exterior the Praxic Temple, earlier than going into the ship (step 4).
- After the primary encounter, earlier than leaping throughout area to achieve the opposite facet of the ship (step 5).
- After the second encounter, within the leaping puzzle (step six).
Get better a Praxic Relic (step 4)
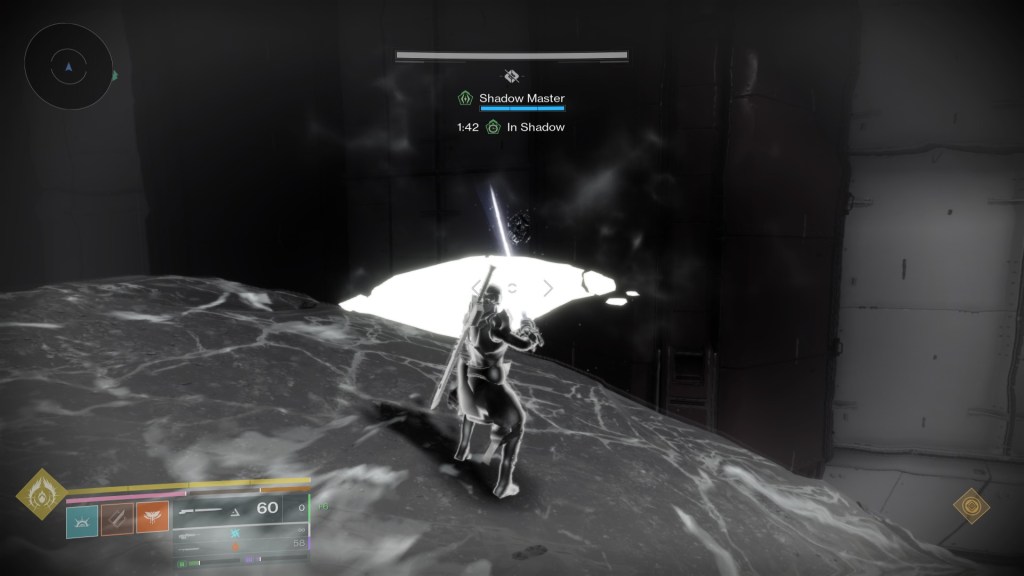
For the primary Taken Blight, end the primary encounter and don’t head contained in the ship. As an alternative, backtrack to the Praxic Temple and take the trail on the precise (going through the door). Destroy the Taken Blight and stand on the pool of Taken vitality on the ground to seize the Shadow Novice and In Shadow buffs.
Your purpose is to clear the enemies within the space earlier than the timer for In Shadow ends, and destroying every Acolyte’s Eye will get you 15 additional seconds. The primary wave of foes spawns close to the Blight, however as soon as that’s over, proceed across the race course, taking pictures the Acolyte’s Eyes in the way in which, till you find yourself on the opposite facet of the door. With the shadow mechanic, use your alternate grenade to activate terminals when needed as effectively.
For those who’ve destroyed all enemies inside the allotted time, a door will open and reveal the primary hidden relic you will need to discover. End the dungeon, then deposit this artifact within the Praxic Temple to advance.
Grasp the Darkness to seek out one other stolen Praxic Relic (step 5)
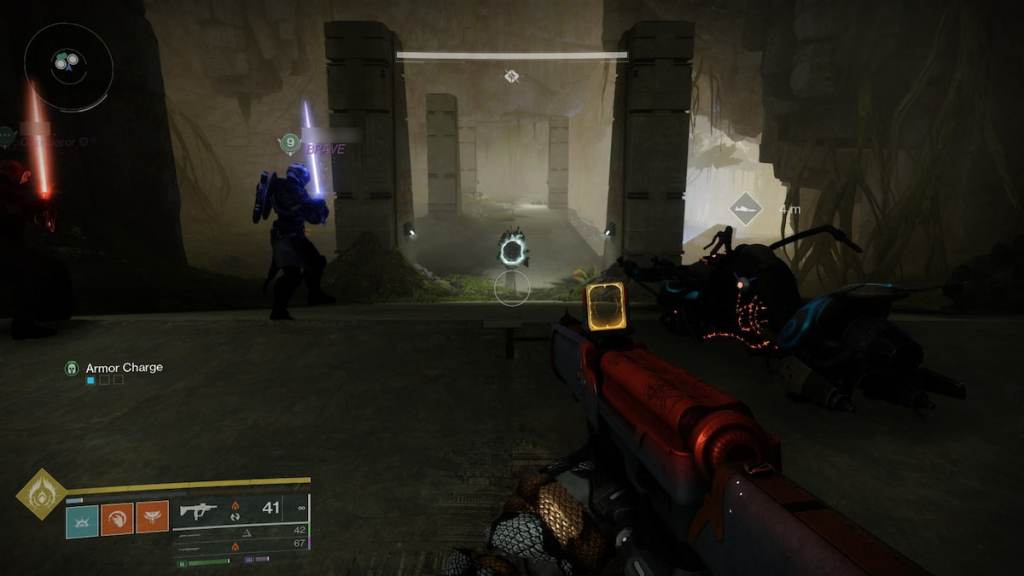
Identical to within the final run, your purpose is to seek out one other Taken Blight and break it together with your Praxic Blade, kicking off a timed sequence. This time, search for it earlier than you shoot a glowing fuse and leap to the opposite facet of the ship. The Blight is behind the hole, main you right into a cramped hallway.
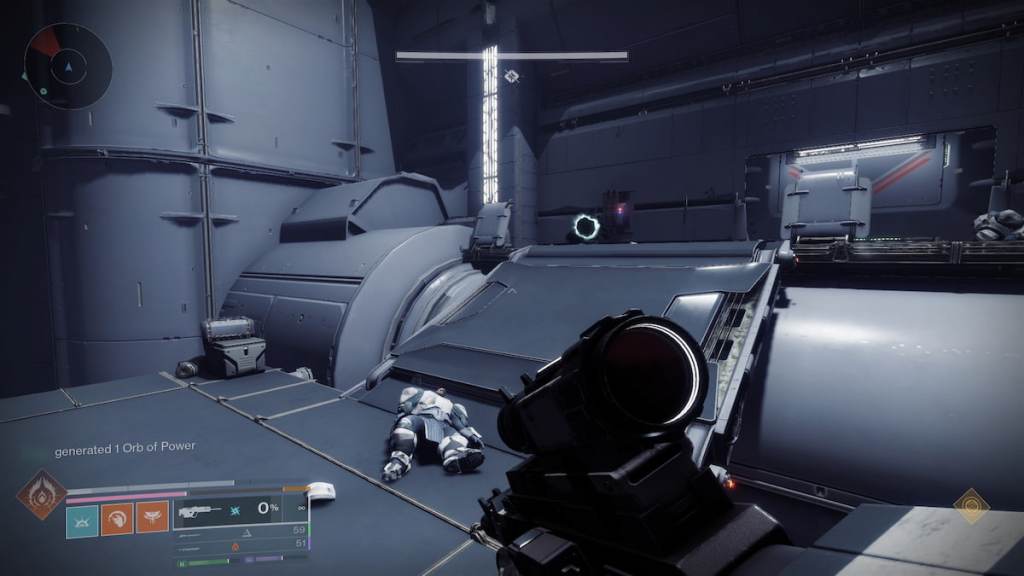
When you’ve cleared all enemies on that half, then you leap into the opposite facet of the spaceship and proceed mowing down Taken as they seem. Observe the supposed path for the dungeon, main down into the shaft earlier than preventing Harrow, Dredgen Apprentice (and don’t neglect the vents main there explode and can kill you for those who’re too shut). Destroy Harrow and Dredgen Sere, then deposit one other relic contained in the inside Praxic Temple to advance this mission.
Traverse the Imperium’s shadows (step six)
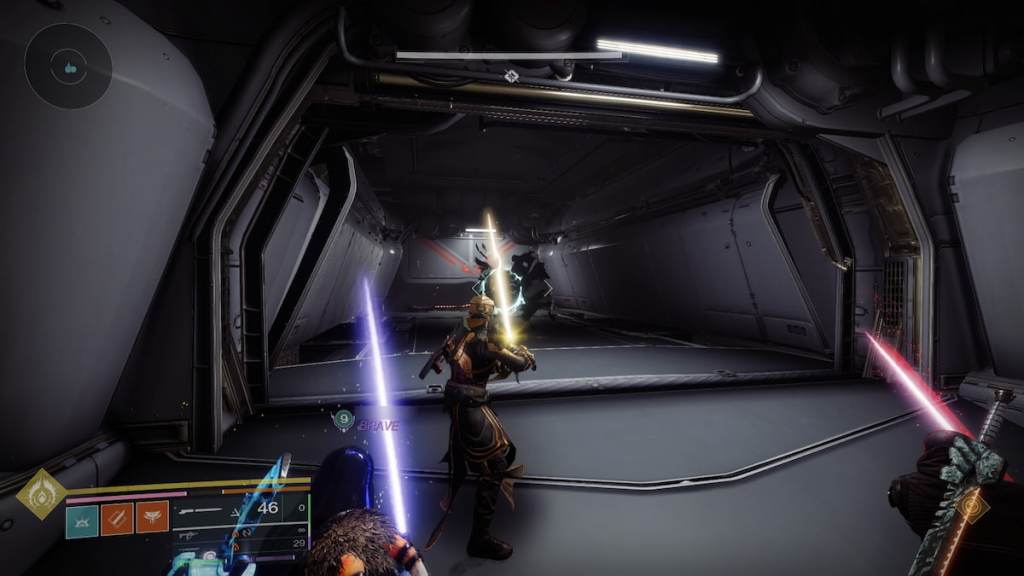
That is the trickiest of the relics to seek out. After taking down Harrow, you’ll encounter a platforming puzzle contained in the ship, which hinges on the Shadow mechanics to steer you up a pipe and additional up the spaceship. On this step, you’ll discover the Taken Blight simply earlier than that platforming part. That is simpler as a crew, however may be performed solo for those who’re fast sufficient.
Destroy the Blight and decide up the stays of Taken vitality on the ground. Clear the enemies within the first room, then head into the open space with the leaping puzzle. Use your alternate grenade on the shielded enemy to push it off the ledge, revealing a litany of Taken Blights.
Break these Blights with the Praxic Blade to spawn floating platforms, which lead you to completely different buttons all around the room. When you’ve cleared the world, head up the pipe and race in opposition to the clock. For those who’ve performed all the pieces proper, one other door will unlock, main you to the ultimate relic… and to one thing sinister contained in the Praxic Temple.
Open the Taken portal within the inside temple (step seven)
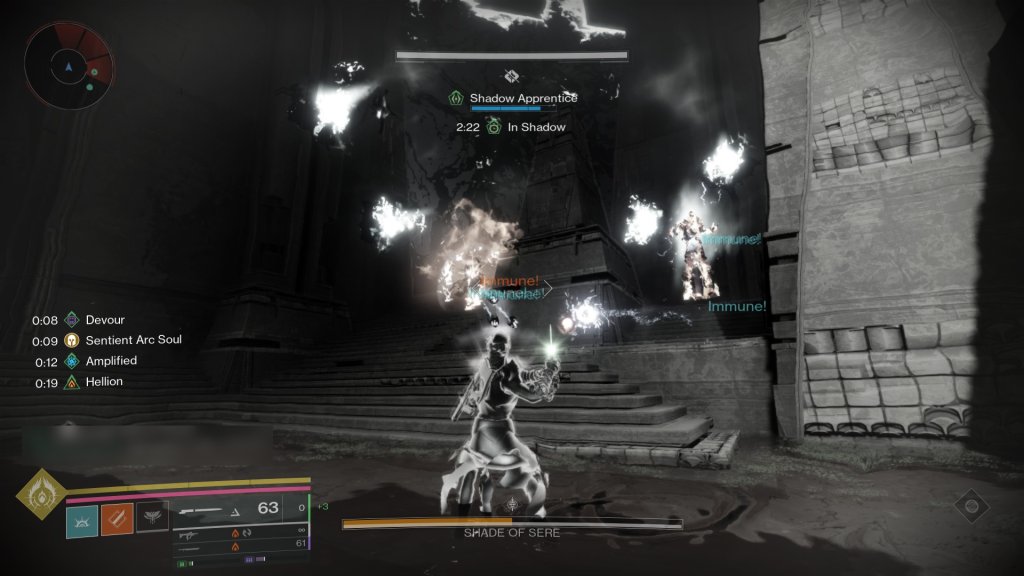
Take the ultimate relic into the temple and deposit it to unlock the search’s remaining problem. Doing so opens a portal resulting in a shade of Dredgen Sere, which serves as an additional boss. The mechanics principally follow what you’ve performed within the quest thus far.
The portal drops you contained in the Ascendant Realm, in a sq. room with sections walled off by Taken vitality. As traditional, stack the Shadow buffs as a lot as you may, taking down provides and Acolyte’s Eyes to maintain the timer working. When you may, use the buff to strip the shields of the immune enemies that present up, since killing them breaks down the limitations within the space.
After taking down the shielded enemies, a number of Taken Blights will spawn. You understand the drill: use the Praxic Blade to interrupt them and create platforms that lead you to the shade of Dredgen Sere, method up excessive within the enviornment. If there aren’t any shielded enemies, use the alternate grenade with the Shadow buff to deplete the boss’ shields. Do it twice to open up a harm section, which will get you to half its well being. Repeat your entire sequence, take down the Shade of Sere, and acquire your goodies to wrap up this quest.
The Approach Between quest rewards
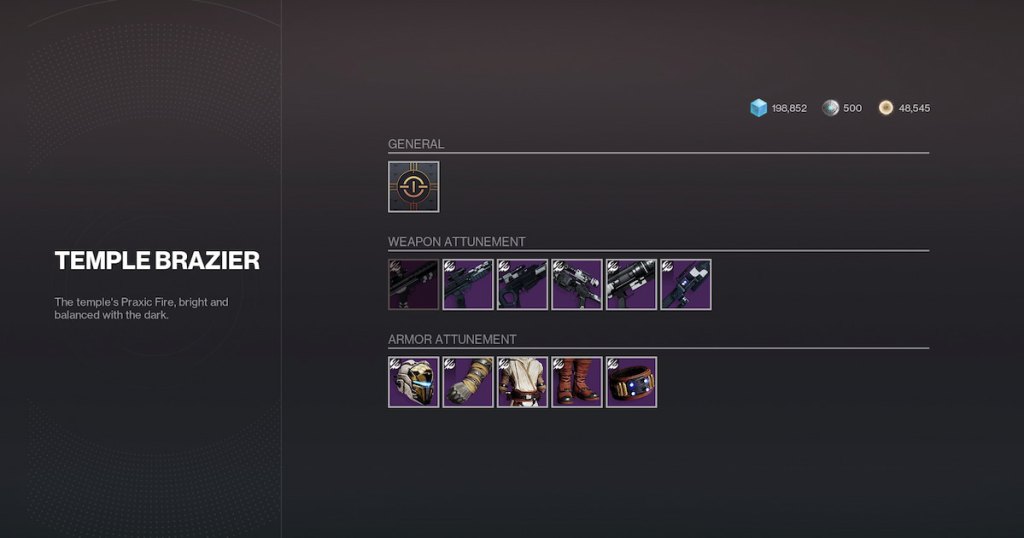
You’ll get some upgrades for the Praxic Blade as you advance the search, however finishing The Approach Between received us two units of randomly rolled tier 5 gear (at 550 Energy) and unlocked Attunement for the dungeon’s weapons and armor.
In case you have the Heirloom Unique, you can even receive its catalyst from this quest by attuning to it. In our expertise, this dropped for us after clearing the primary encounter.

