
Table of Contents
The Praxic Blade is Future 2‘s tackle the lightsaber, bringing an ideal mix of Star Wars and Bungie’s franchise. And, like different Unique weapons, the Renegades sensation additionally has a number of methods to improve it.
Some mods are obtained by way of Syndicates, whereas Darkish Matter Crystals allow you to change the colour of your blade. And, extra importantly, this weapon additionally has 4 catalysts to acquire. Three are hidden within the Fireplace and Ice mission, whereas one is locked behind the Equilibrium dungeon. Right here’s how you can get them.
All Praxic Blade catalysts in Future 2 and how you can get them
Three of the Praxic Blade’s catalysts are hidden within the Fireplace and Ice mission. Echoing Blade lets your Praxic Blade hit extra targets, Higher Hand will increase the injury of the lightsaber’s sword throw and mirrored bolts for those who’re on increased floor than the goal, and Hyperblade makes you Amplified after reflecting photographs. It additionally grants you a one-time Keen Edge edge impact after blocking, which is beneficial for tactical retreats.
The Vitality Conduit catalyst grants well being regeneration based mostly on what number of enemies you hit together with your sword throw, although it’s hidden within the Equilibrium dungeon.
Learn how to get all Praxic Blade catalysts in Future 2
One of the best order to seize these catalysts within the Fireplace and Ice mission is:
- Kill the 2 Taken Knights within the common aircraft
- Get the seven oddities all through the mission
- When you attain the primary stability encounter, mess it up on goal to spawn the Catalyst of Imbalance
- After the extent switches to the upside-down model, don’t go into the portal. Backtrack and destroy the 2 Blights from the useless Taken Knights.
- Stability the 2 white Blights earlier than taking down the Disciple of Harrow.
We’ll break down their particular person places beneath, based mostly on findings from content material creators Skarrow9 and Esoterickk.
Higher Hand Catalyst (half one)
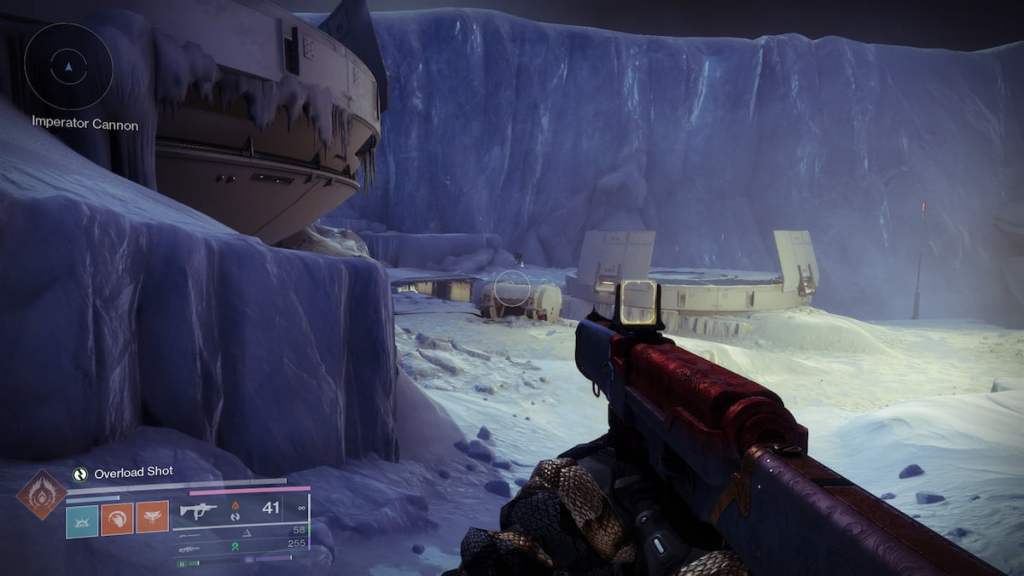
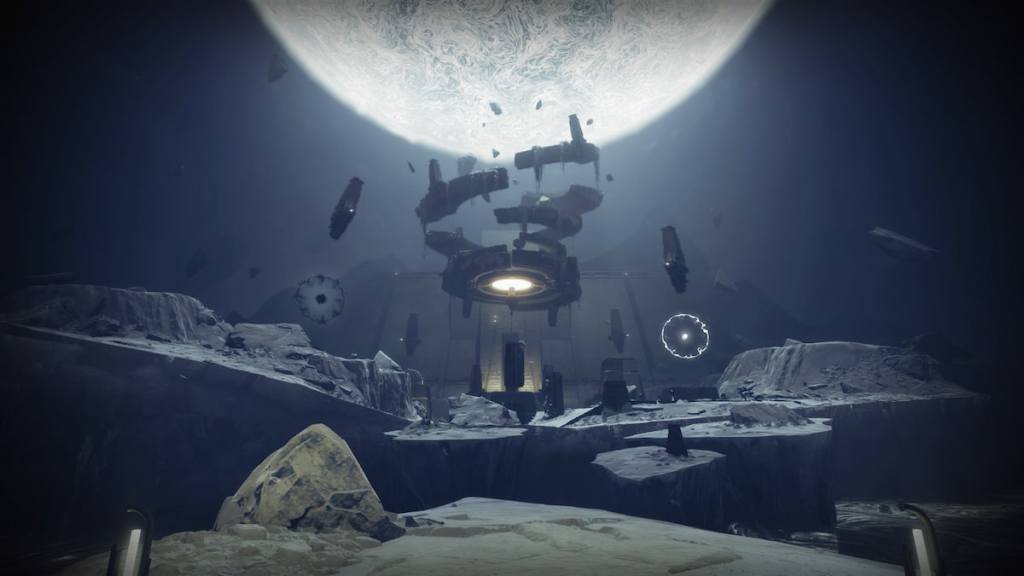
As quickly as you start the mission, search for two Taken enemies referred to as Imbalance Warden close to the Firebase Imperator. One will likely be to the fitting of the doorway, whereas the opposite is in a small hallway to the left of the bottom’s doorway. Kill them, bear in mind their places, and transfer on with the mission as regular till you flip between dimensions, after the Stability the Scales goal. The subsequent step is discovering seven oddities for the Echoing Blade catalyst.
Echoing Blade Catalyst
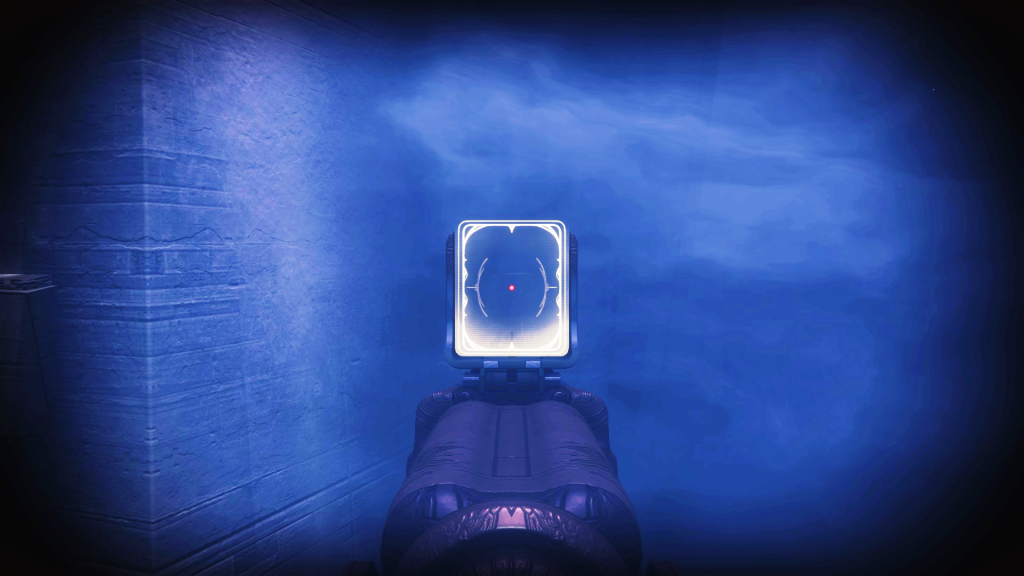
The Echoing Blade Catalyst requires you to throw your Praxic Blade at seven small Blights scattered across the mission, just like what you probably did after acquiring the weapon in your first clear. Destroying any of them will say “X out of seven oddities destroyed” above your Tremendous bar.
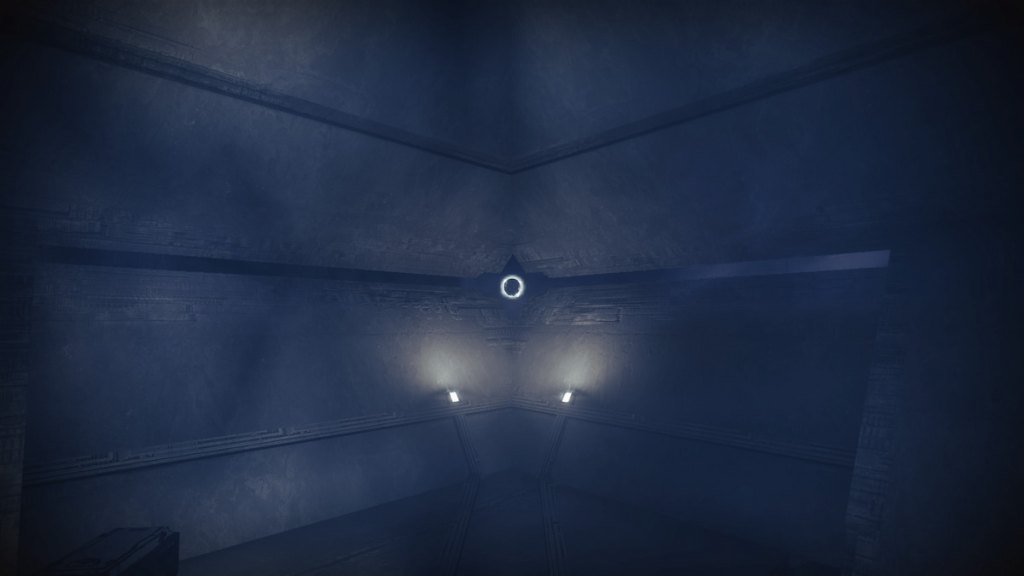
First Oddity
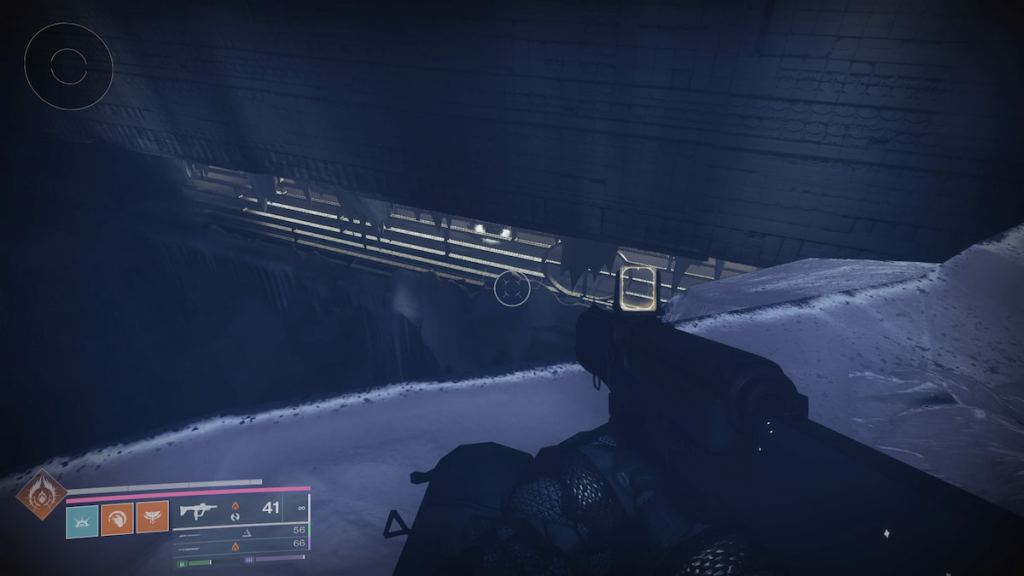
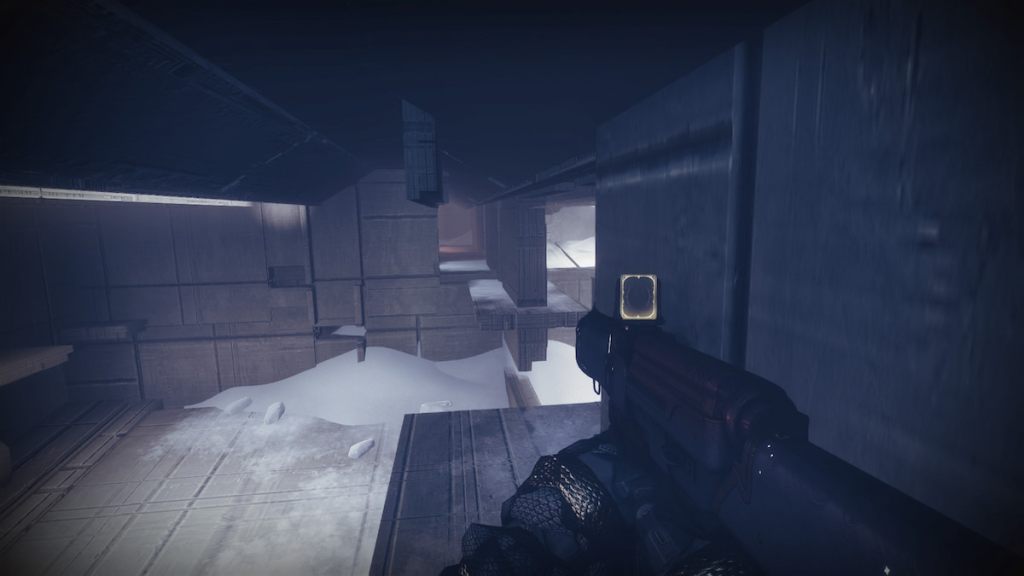
After grabbing the Imbalanced Octant and taking pictures the 4 Darkness artifacts, leap into the pit beneath and search for a small, glowing ledge. It’s in your proper for those who stand on the sting earlier than leaping. From there, head to the glowing ledge throughout from you and observe the trail till you attain an space with bars beneath you. Attain an ice block with a crate of particular ammo and search for a closed-off, disappearing wall. Run to the top of the walkway in entrance of you and are available again simply in time to dissolve the wall and present a Blight on the opposite aspect. Throw your Praxic Blade at it and, if it lands, the message “one out of seven oddities” ought to seem.
Second Oddity
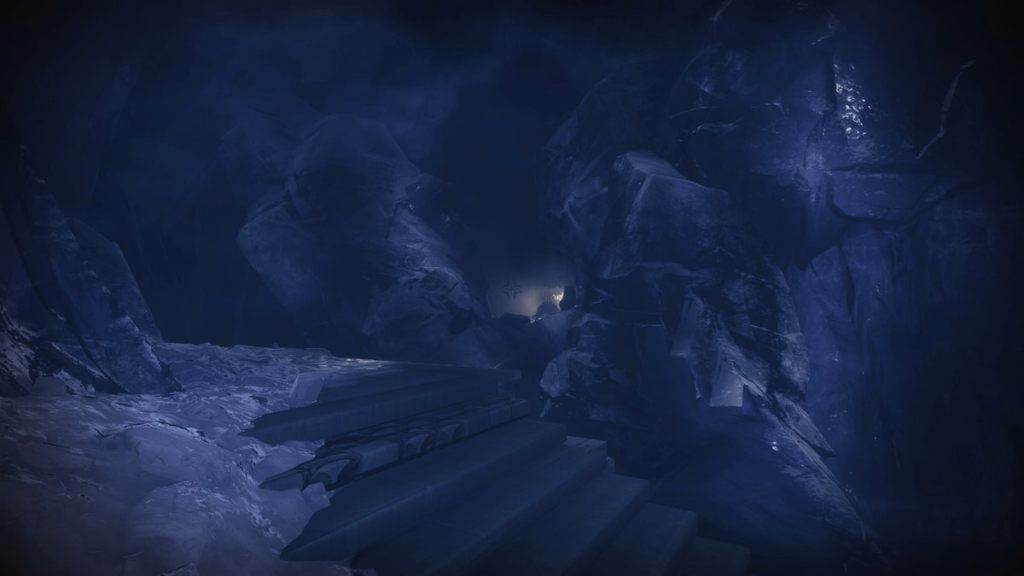
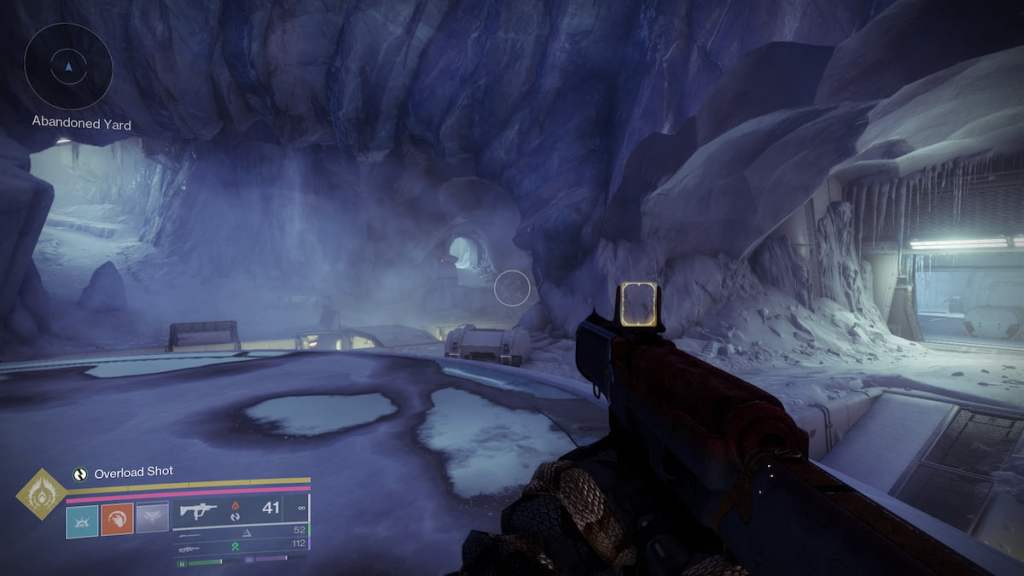
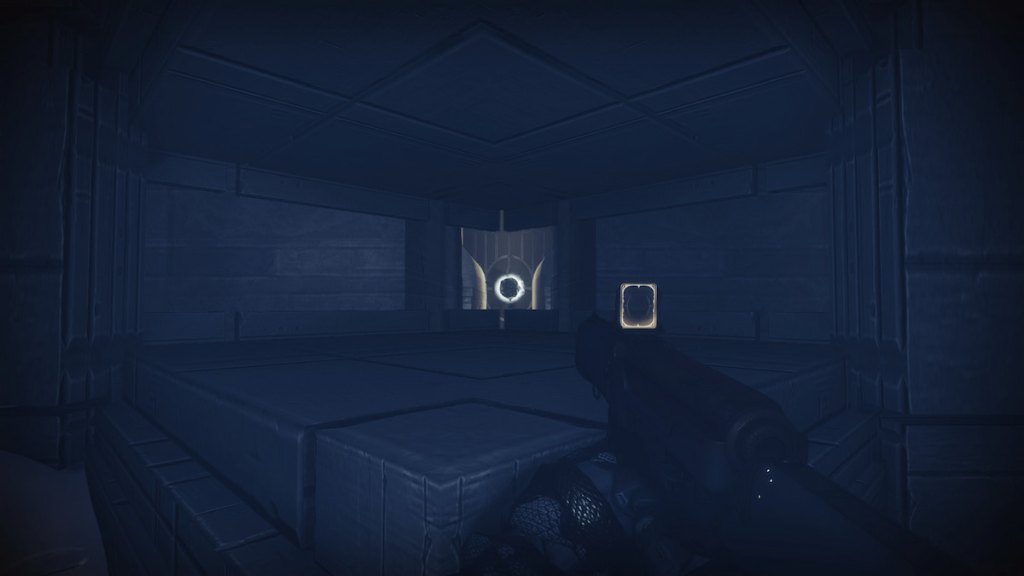
From the primary oddity, drop down into an icy ledge beneath. As an alternative of crouching beneath the downed pillar and persevering with with the mission, backtrack barely till you see some icy steps. Look to the fitting to identify a door with an emblem. Dissolve it, then head inside to see a Blight. Climb up on the tiny ledge behind you and crouch to undergo a gap within the wall, then take the trail on the fitting to destroy the Blight. Stroll out by way of the dissolving wall close by.
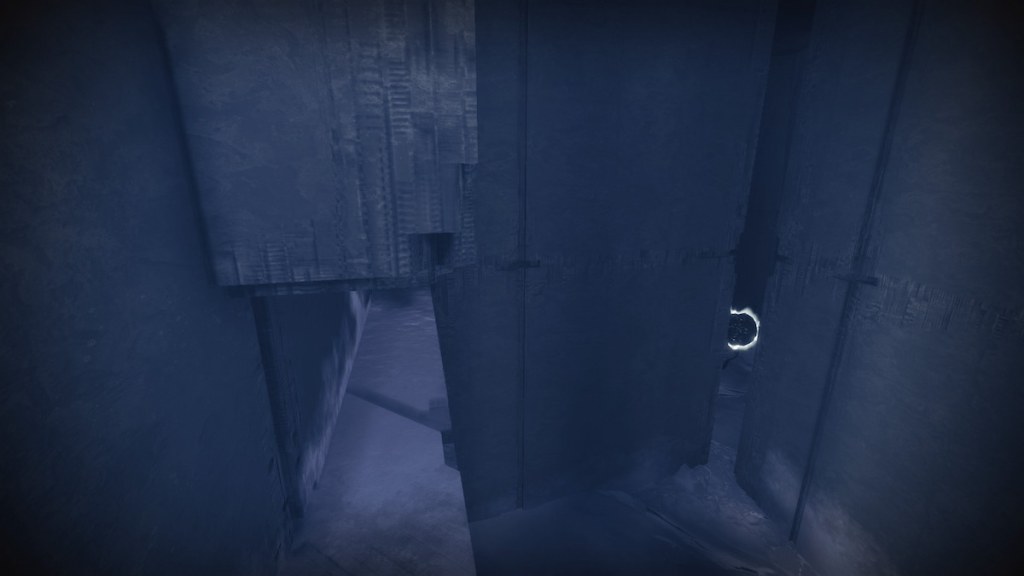
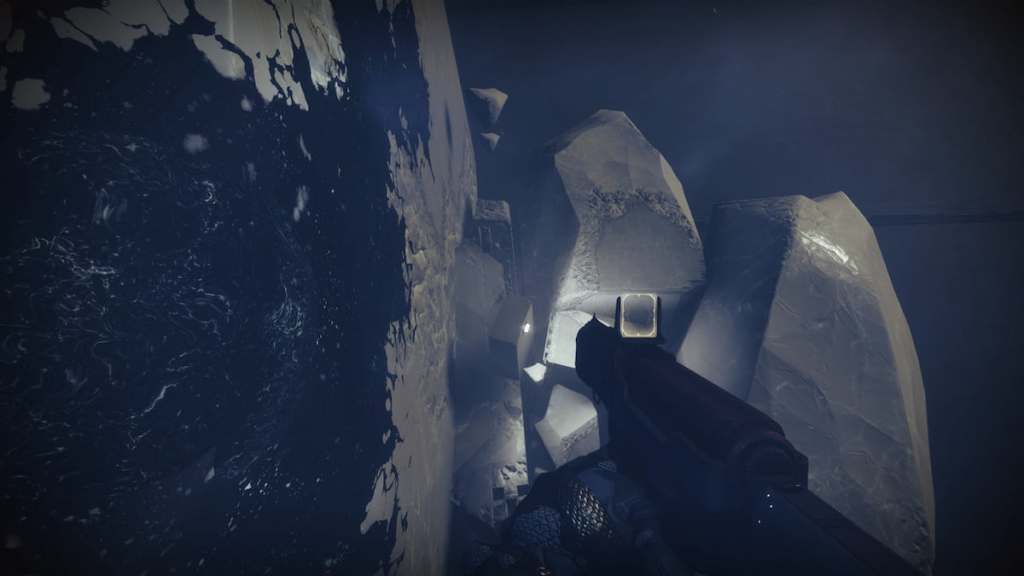
Third Oddity
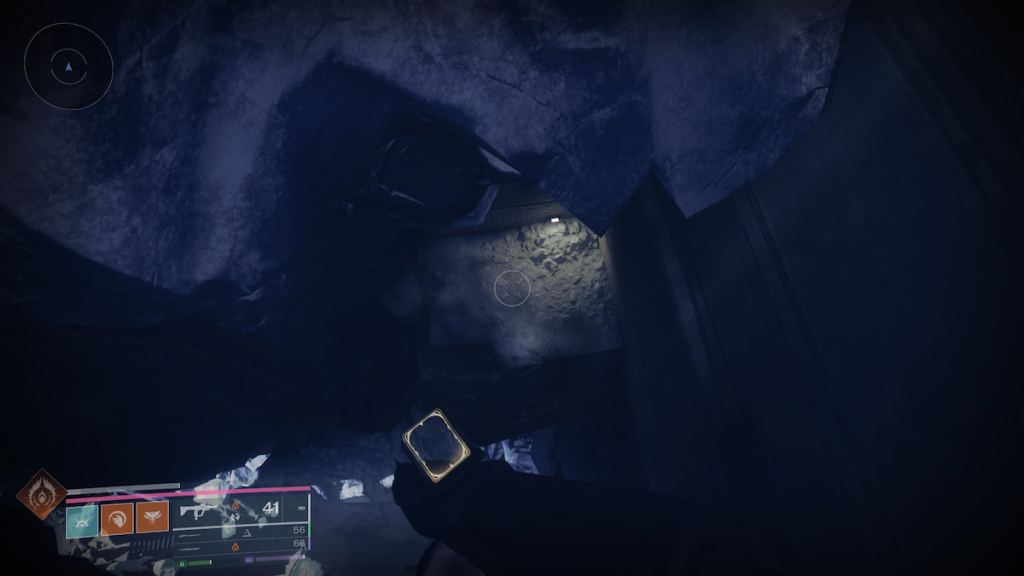
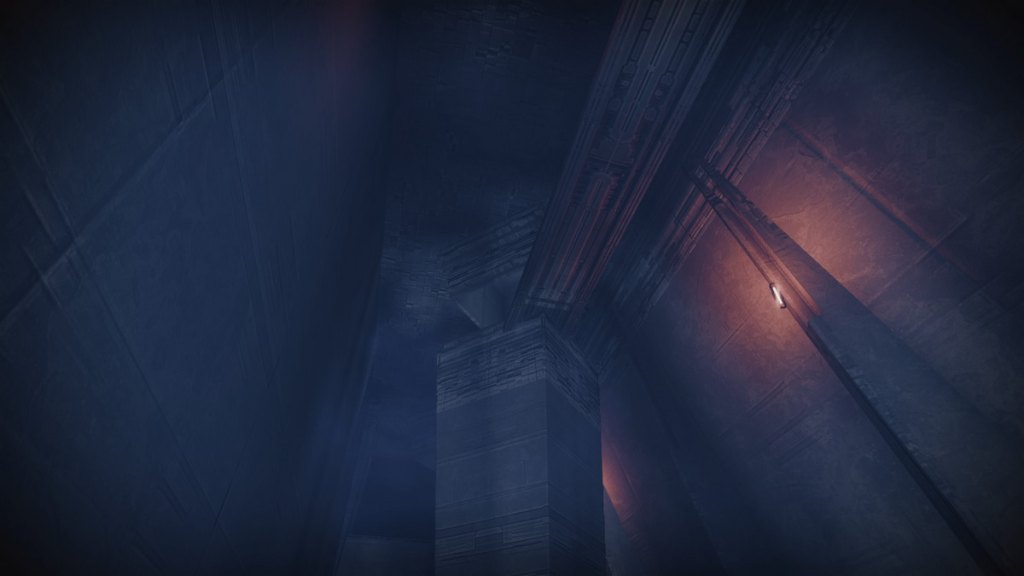
Once you get to the leaping puzzle the place you need to crawl by way of obstacles on two ranges, get to the second story and search for the massive constructing behind an icy rock. There are just a few secret ledges on the opposite aspect, that are onerous to identify even from the glacier. Observe the trail, preserve climbing up, and also you’ll discover the third Blight, simply in sight of the following space within the mission. We needed to actually crank up the brightness on the screenshot so it’s considerably seen, so flip up your brightness in-game to search out this another simply.
Fourth Oddity
Attain the room with a tightrope-esque steel beam and a sequence of blocks that attempt to hit you. Climb to the highest and, earlier than you exit, look across the tiny rooms for a Blight within the distance. Flip round and search for a minuscule entrance within the wall. Probably the most constant manner of getting in is climbing on the ledge nearer to the Blight and Keen Edge-ing by way of the hole. Dissolve the double partitions and rapidly throw your Praxic Blade to hit this one.
Fifth Oddity
Proceed alongside the mission till you platform to a slim, crouch-only path beneath a beam. At one level, you may leap to the left or the fitting aspect. Take the fitting, then climb as much as one other beam up prime. Observe it, and when you attain the primary diamond-shaped a part of the ground, search for and dissolve the ceiling above you. Line up your lightsaber and destroy the Blight by way of the wall.
Sixth Oddity
Simply after the fifth oddity, whenever you attain the following open space with dissolving platforms, take the Hobgoblins sniping you, then preserve going till you attain a floating glacier with one other Hobgoblin taking pictures at you. Three small ledges will likely be beneath you and to your left, so drop down and destroy the Blight with a ricochet by aiming on the X on the close by wall. You too can hit this from the glacier in entrance of you, for those who drop down beneath the place the Phalanx spawns.
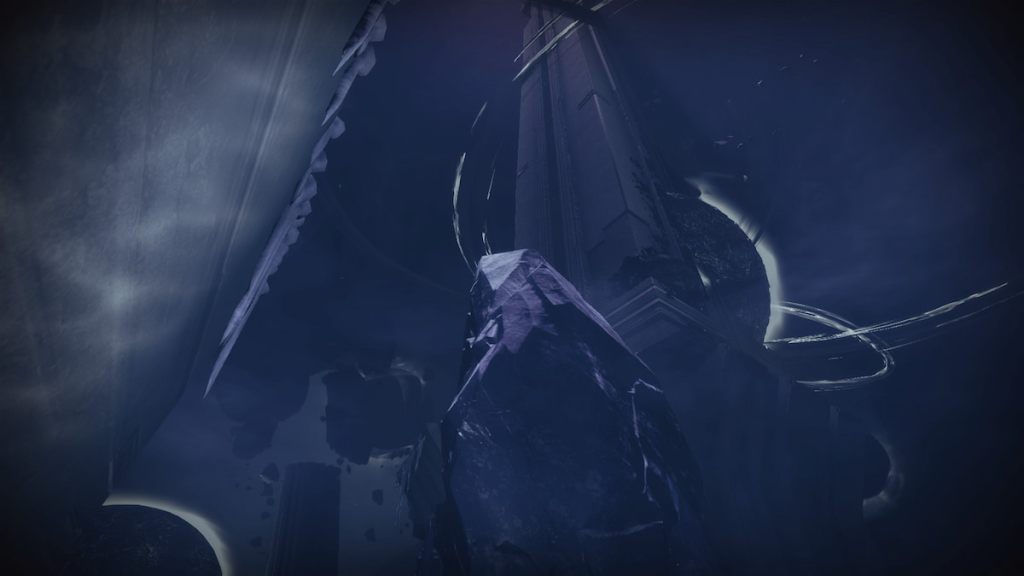
Seventh Oddity
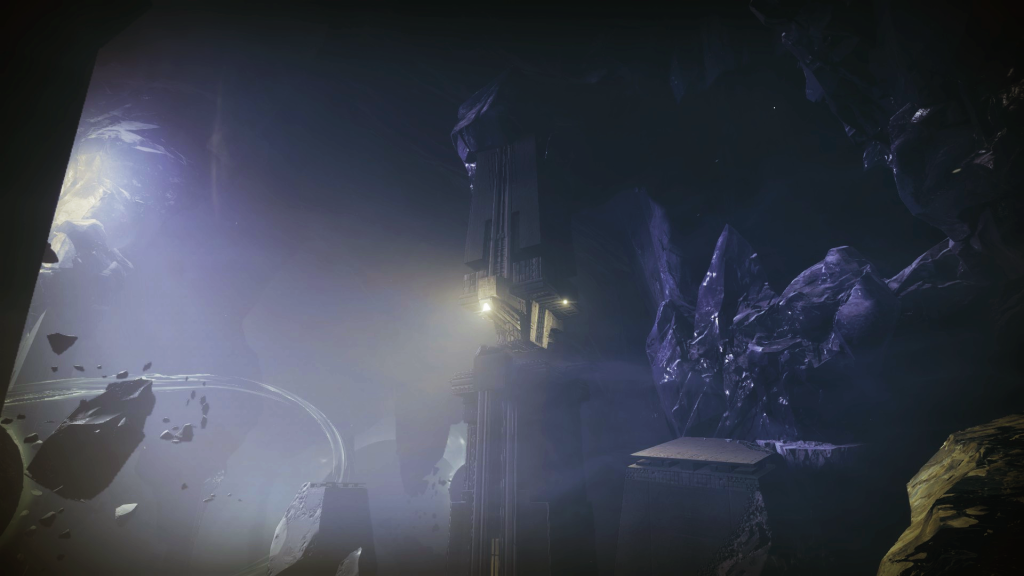
Backtrack to the doorway to this part and climb up on the rocks above the wall. When you attain a block with stairs main nowhere, look throughout the chasm to discover a construction with this Blight inside it. Maintain going up till you attain it. Look above the X to discover a gap within the steel, then get as shut as you may and throw your Praxic Blade inside. It would take just a few tries, however it’s best to land the candy spot and destroy the ultimate Blight.
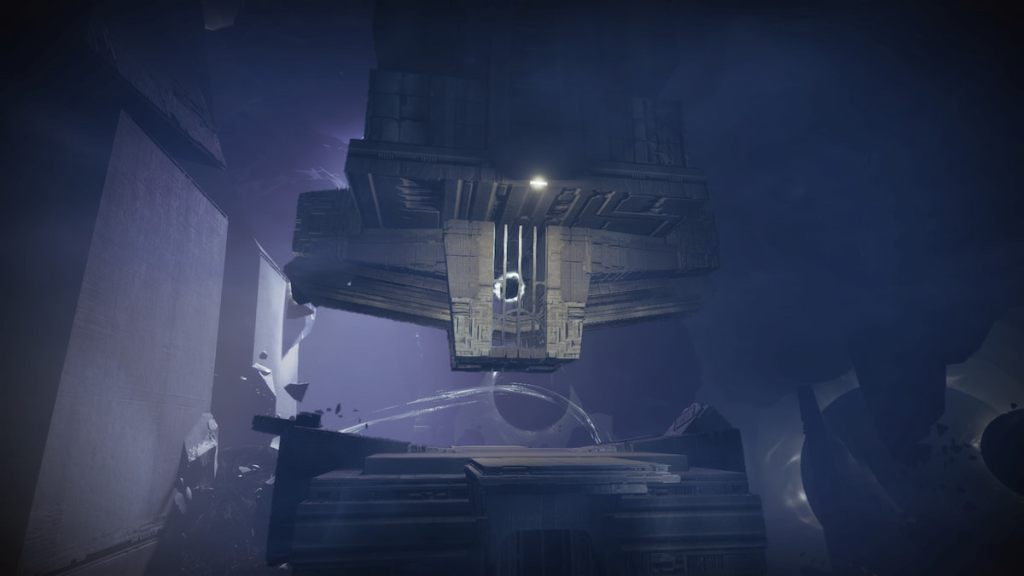
Hyperblade Catalyst
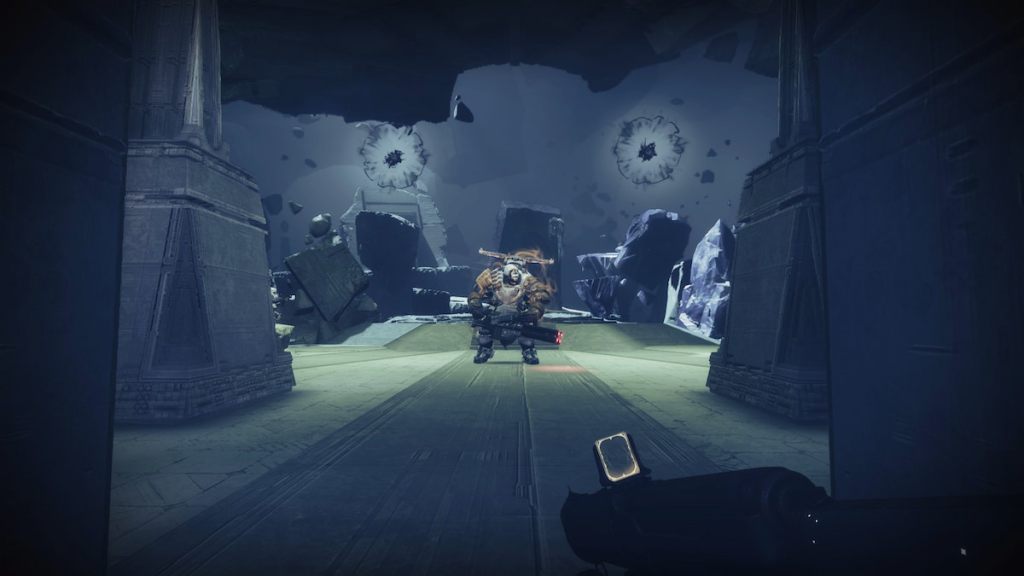
Within the “Stability the scales” encounter, overcharge every of the 4 Blights to get them out of stability. Do that by throwing three of the matching vitality kind on them. Failing summons an enemy referred to as. Every time you do that, one small Blight spawns on every of the perimeters of the machine within the heart of the map. Destroy all 4 of them to summon the Warden of Imbalance, a giant Taken Ogre. Take it down and full the mission to snag the Hyperblade Catalyst to your Praxic Blade.
Higher Hand Catalyst (half two)
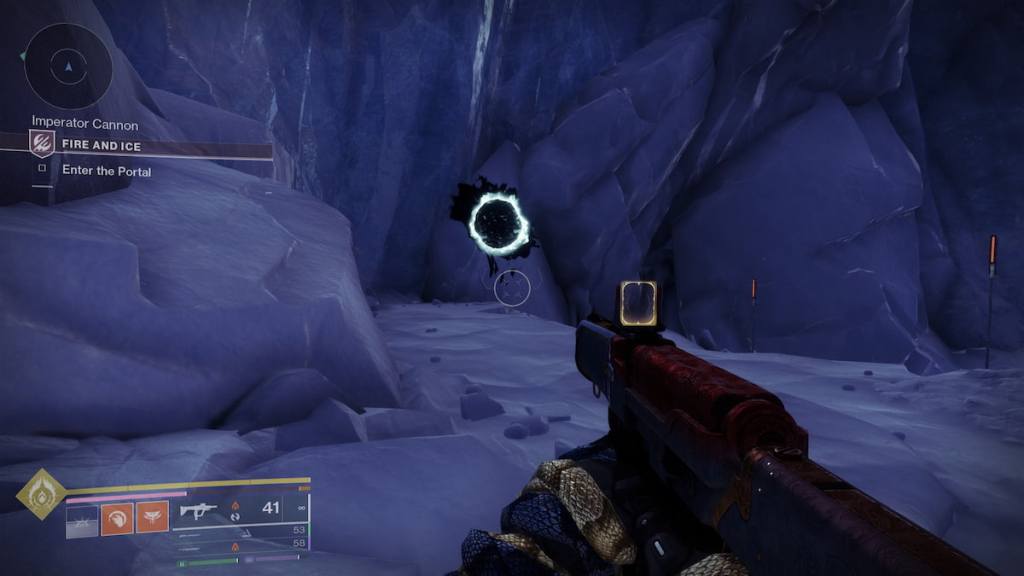
Cease instantly after utilizing the Balanced Octant and flipping realities (Stranger Issues, anybody?). As an alternative of going by way of the portal, backtrack to the place you killed the 2 Taken Knights within the mission. There will likely be a Blight in every spot. Destroy them with a Praxic Blade throw. Fittingly sufficient, for those who depart the Firebase Imperator by way of the primary entrance, one Blight will likely be in your proper and one other to your left. Completely balanced.
After doing this, two white Blights will spawn within the Disciple of Harrow struggle, below the boss’s area. Cost them up by throwing Paired Vitality at them, obtained by killing the identical enemy kind twice in a row, and roughly alternate between the 2 Blights. Then, full the encounter as regular, and also you’ll seize this prize from a small lockbox on the finish of the mission.
Vitality Conduit

The Vitality Conduit catalyst drops from the Equilibrium dungeon. We’ll replace this text as soon as it’s out there.

