#Jujutsu Odyssey Entrance Examination Information – Destructoid

Table of Contents
For those who’re studying this, likelihood is you’ve made it to the ultimate entrance examination of Jujutsu Odyssey, acquired caught, and are actually in search of assist. Belief us, you aren’t alone. This was one of many worst experiences we’ve ever had in any Roblox recreation, and when you think about a number of the issues we’ve performed, that’s saying so much.
Actually, if this examination doesn’t get SIGNIFICANTLY simpler, we’re fairly assured the participant rely will drop SIGNIFICANTLY quickly. However sufficient of our rants; you’re right here for a information, and also you’re getting one. Right here’s easy methods to move the Entrance Examination in Jujutsu Odyssey.
How the Entrance Examination works

The doorway examination consists of FOUR checks. Sure, not three, FOUR. Regardless of the NPCs telling you there are solely three, there are literally 4. Right here’s one of the best (and we really imply “worst”) half: you solely have three lives for this check. For those who lose all of your lives throughout the examination, it’s important to do EVERYTHING once more.
Sure, even if you happen to die on the final bit, it’s essential to begin from the primary check. Wanna know what number of tries it took us to complete this? 4! Name it a “talent subject” if you would like, however having such an enormous problem spike so early is simply dangerous recreation design if you happen to ask us. This wouldn’t be so dangerous if the controls within the recreation labored and if the sport really gave you an precise preventing probability, however we digress. Right here’s easy methods to move every of the checks.
Don’t overlook to spend all of your talent factors earlier than you begin this check. We’re telling you this as a result of the sport certain isn’t going to.
One saving grace is that you are able to do this with different gamers. We needed to see if it was doable with only one individual, and whereas it’s, we HIGHLY suggest you deliver somebody alongside. Belief us, doing this solo ought to be unlawful.
Take a look at 1 – Discovering the three cursed seals
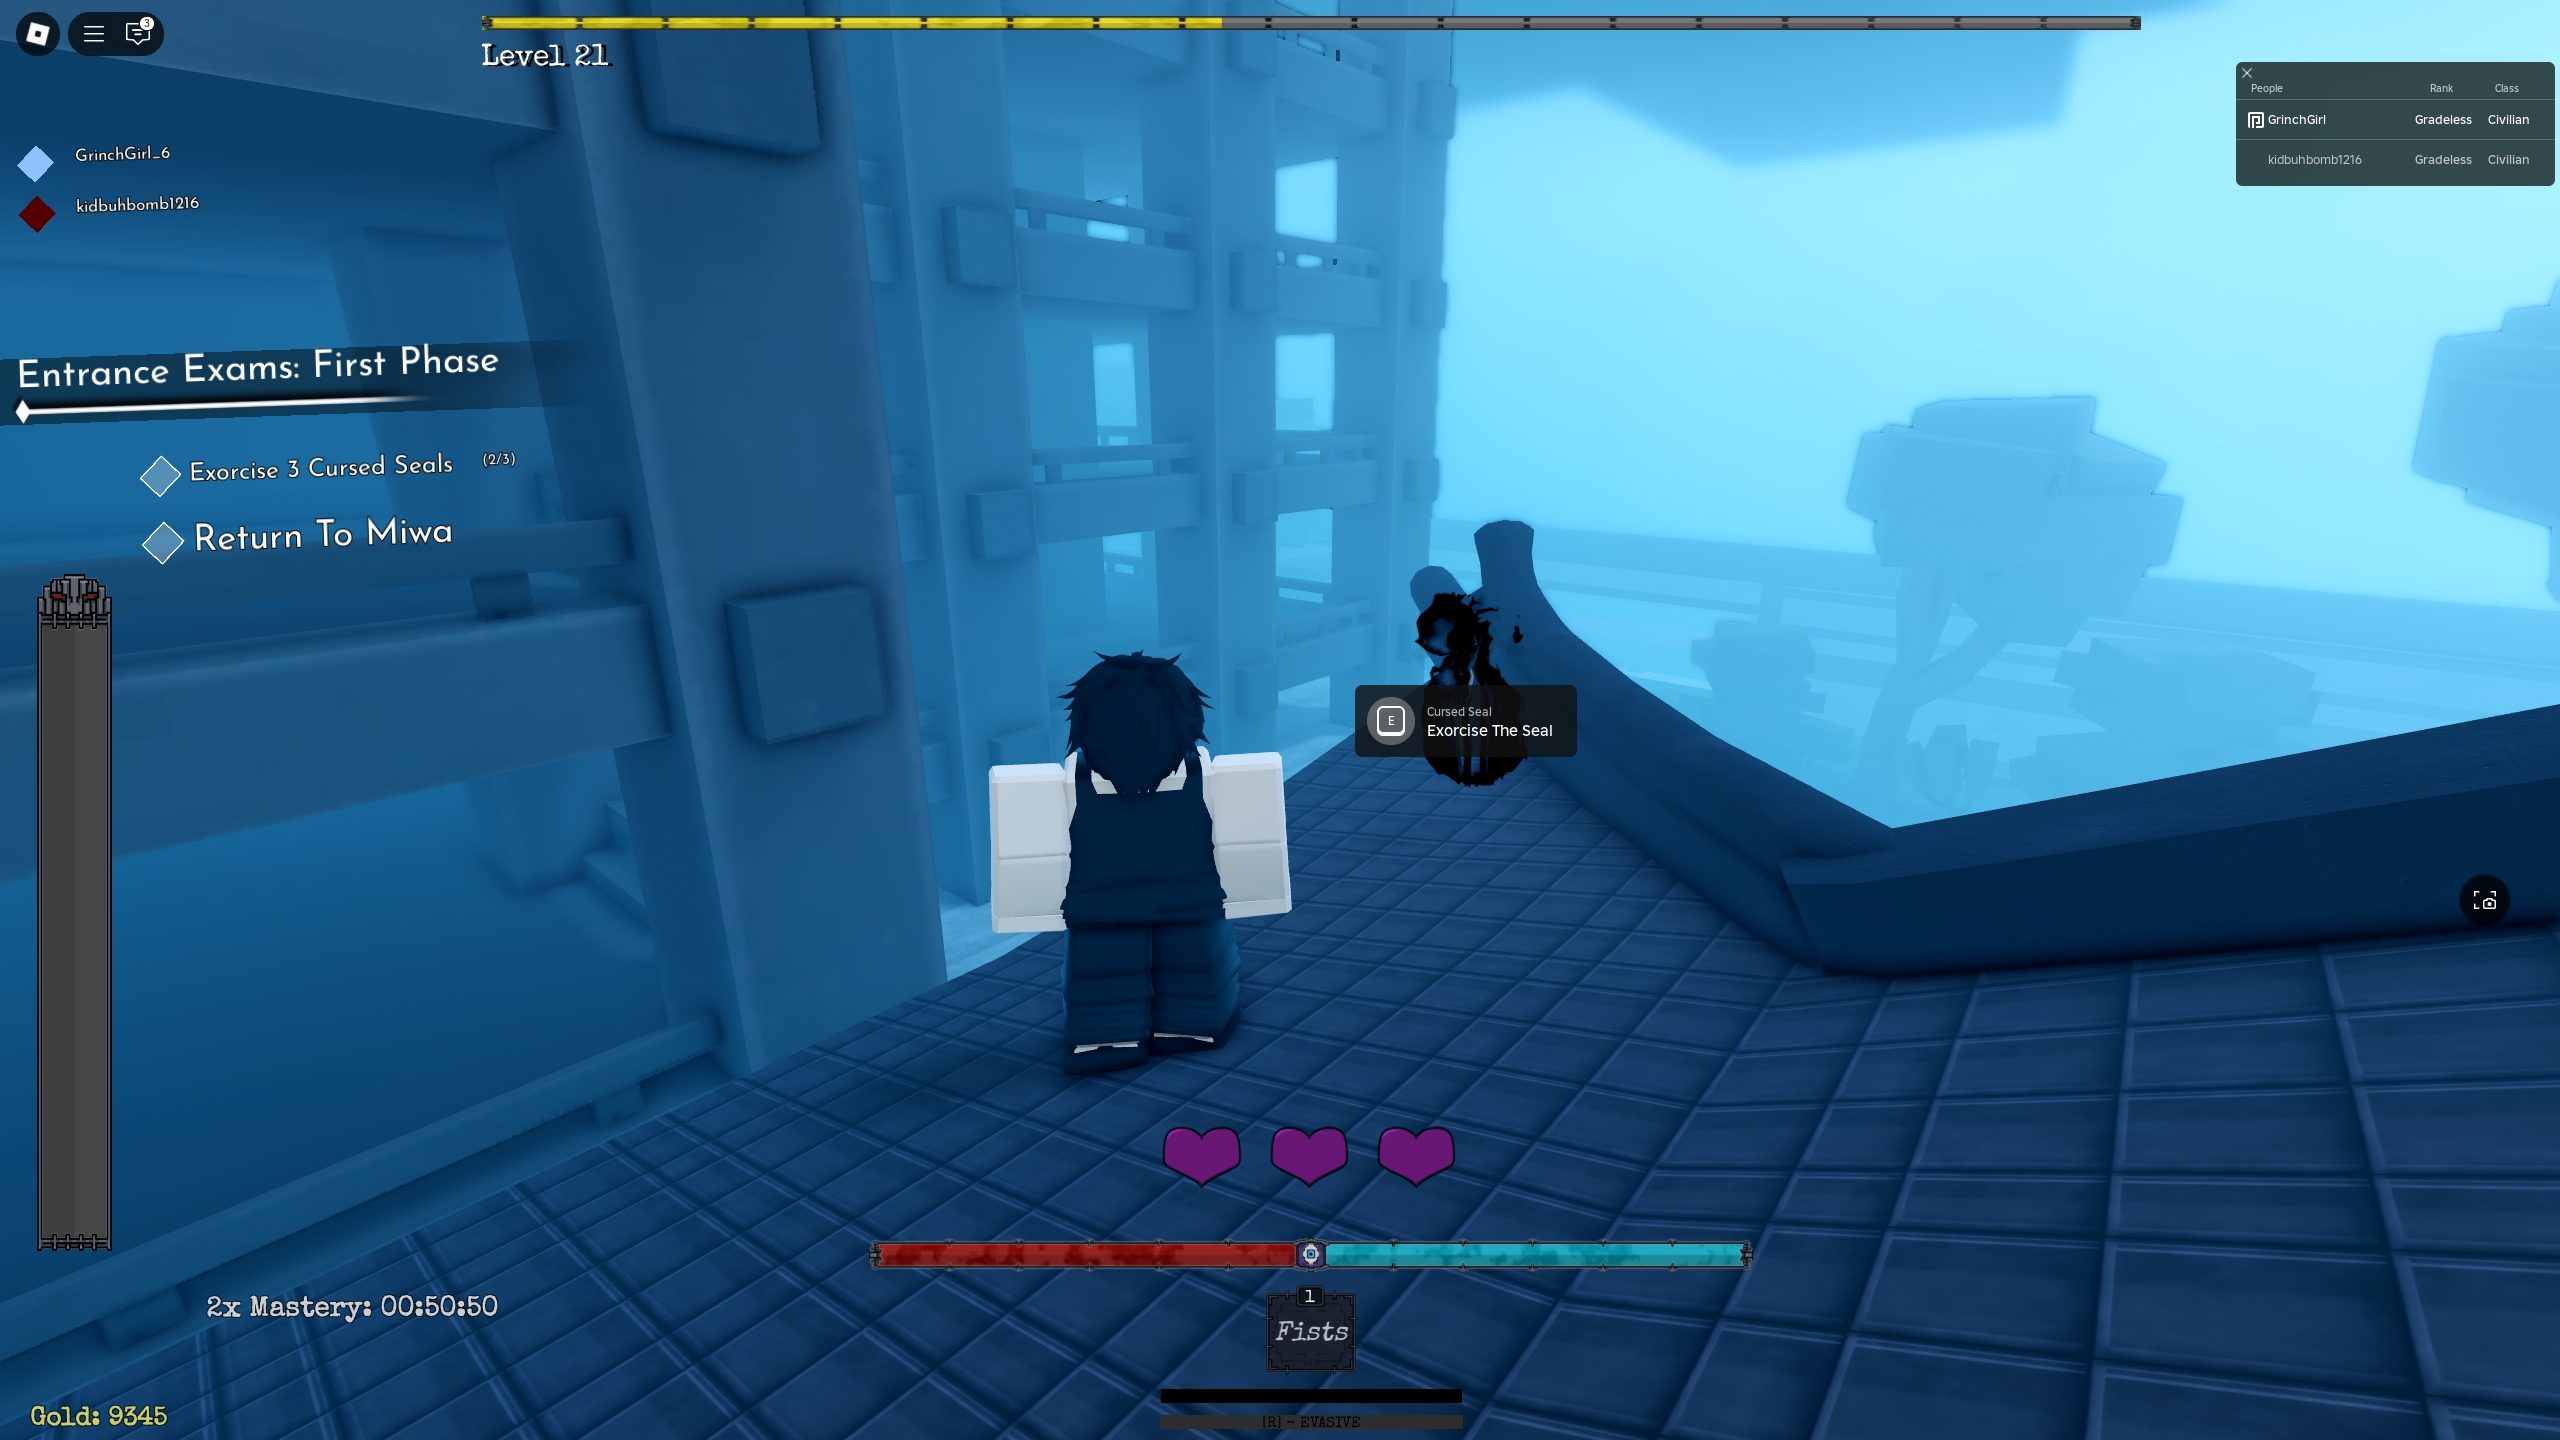
The simplest of the three checks is discovering the three seals. They’re all the time in the identical places however often spawn one by one, in no specific order. Listed below are the three places:
- The Shrine simply above the hunt giver Miwa
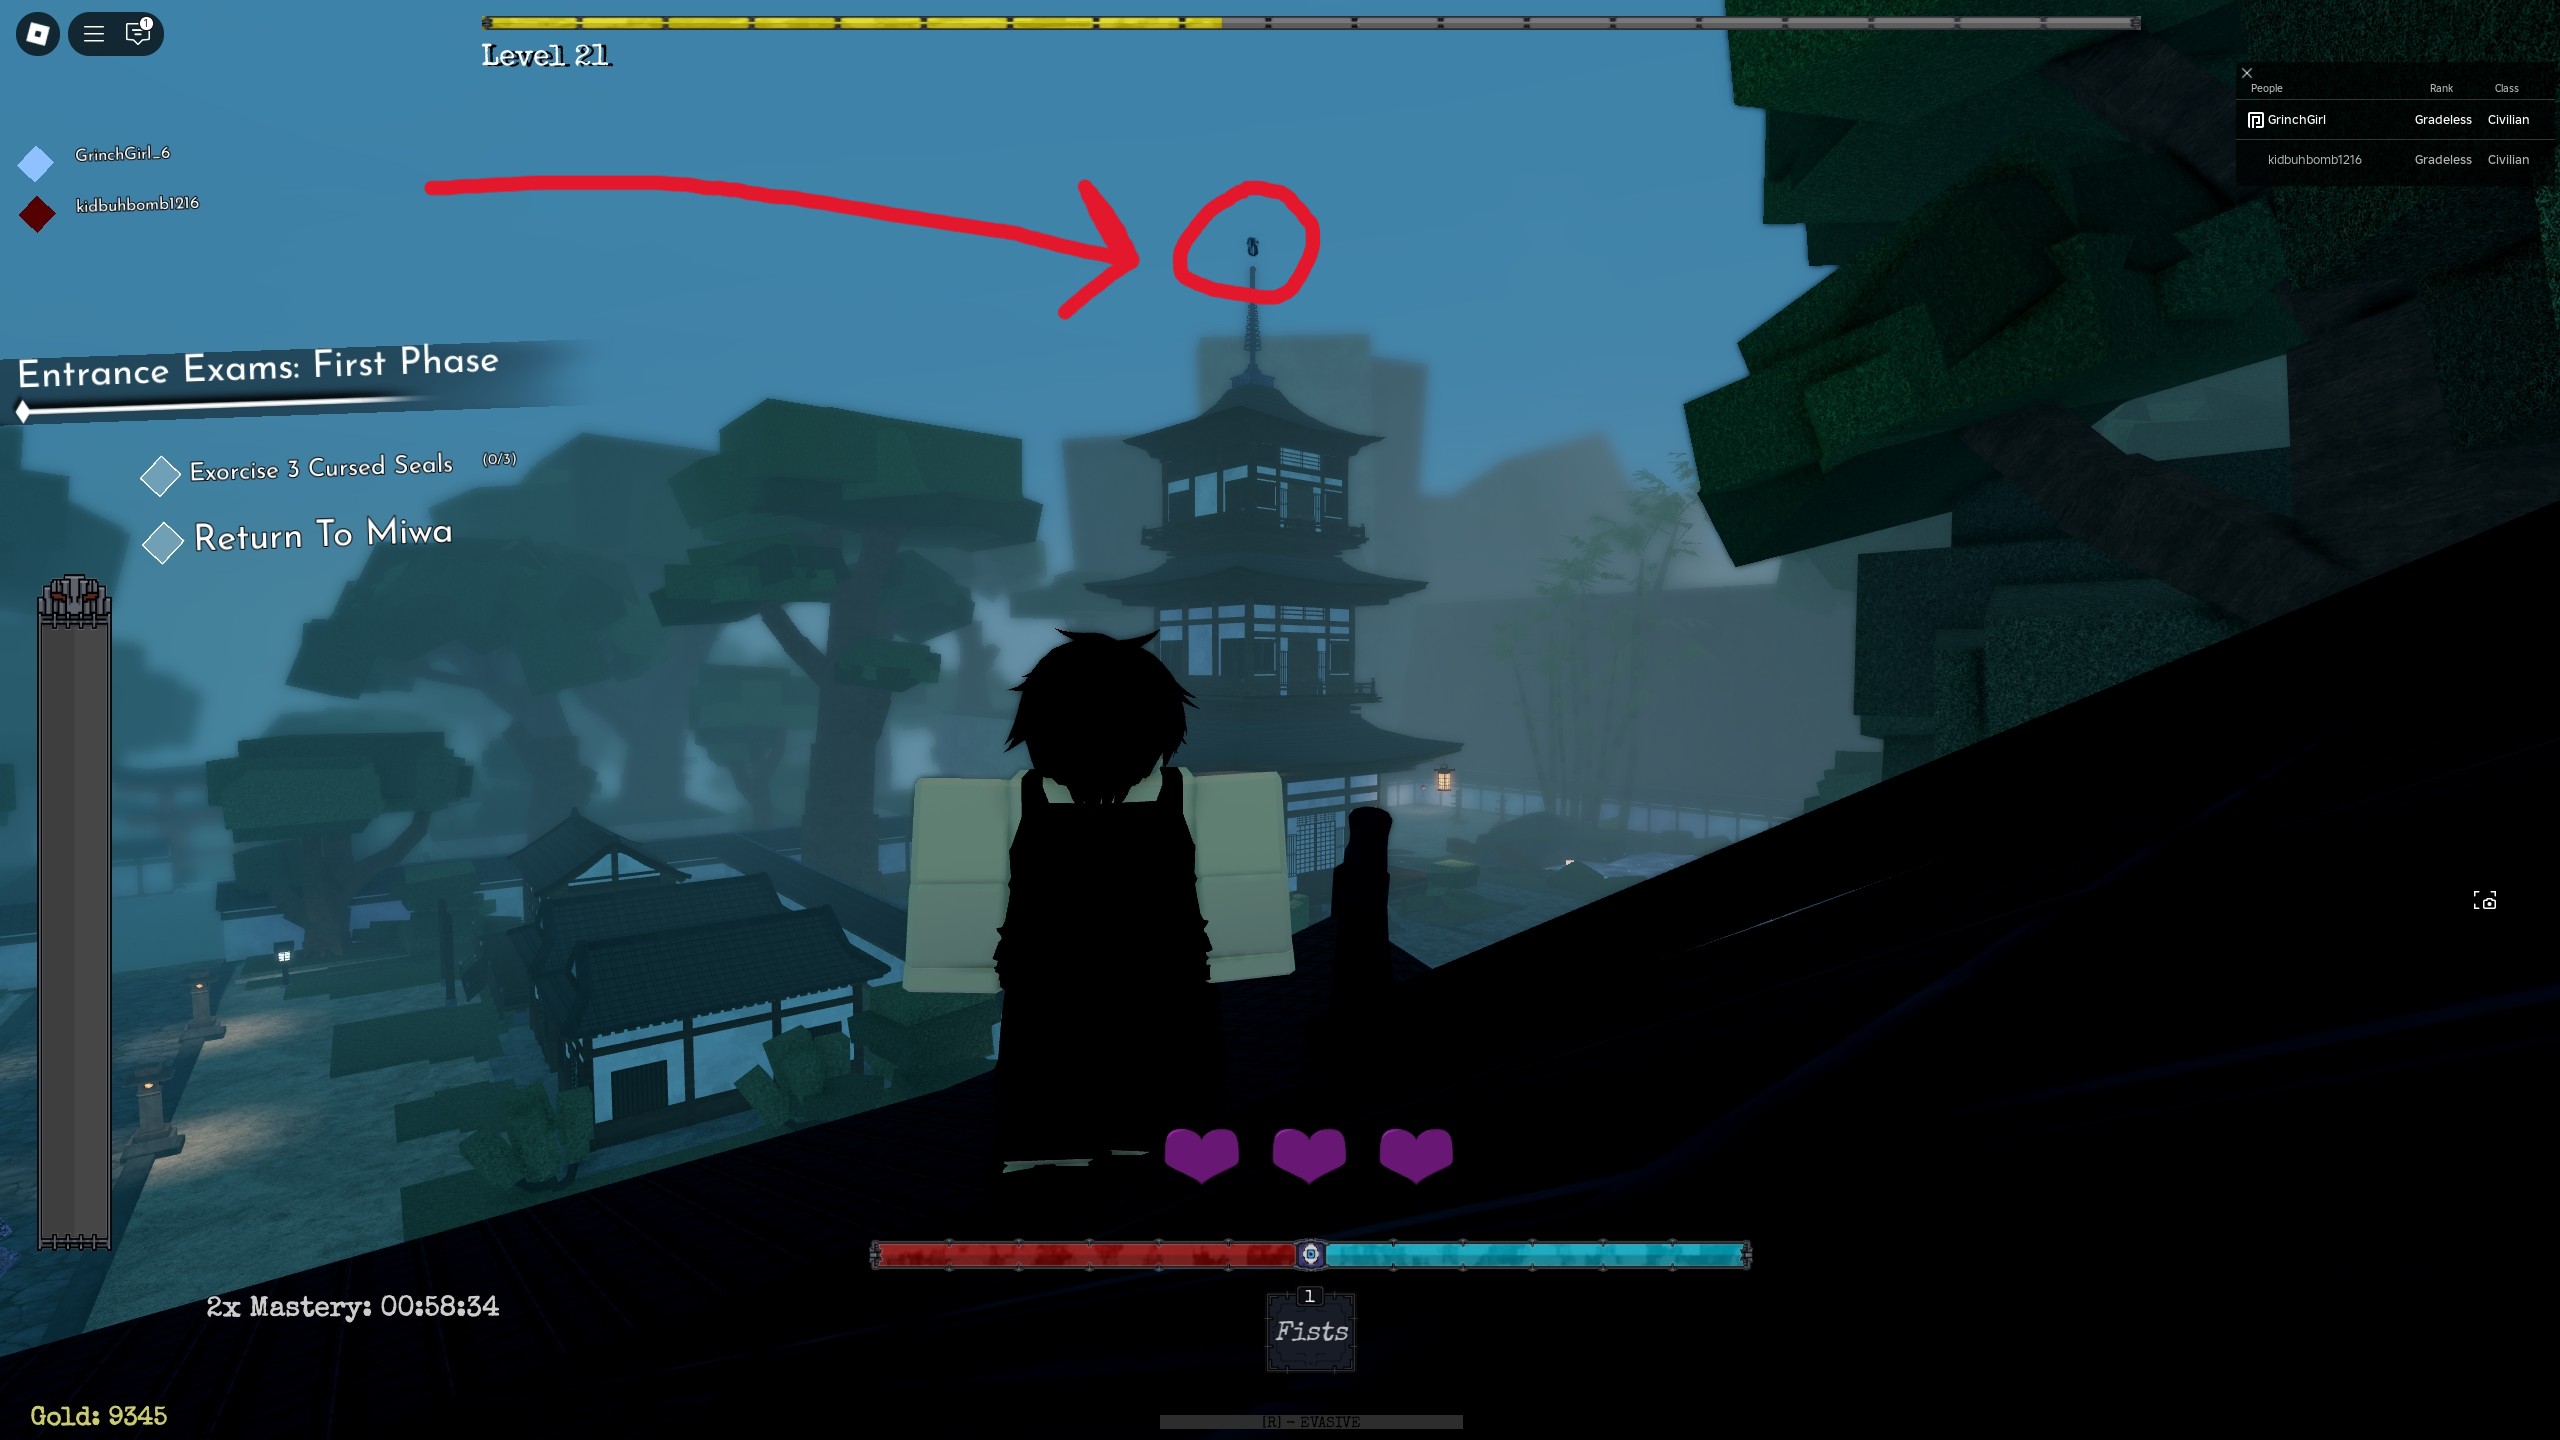
- The very tip high of the tallest tower (left of the hunt giver)
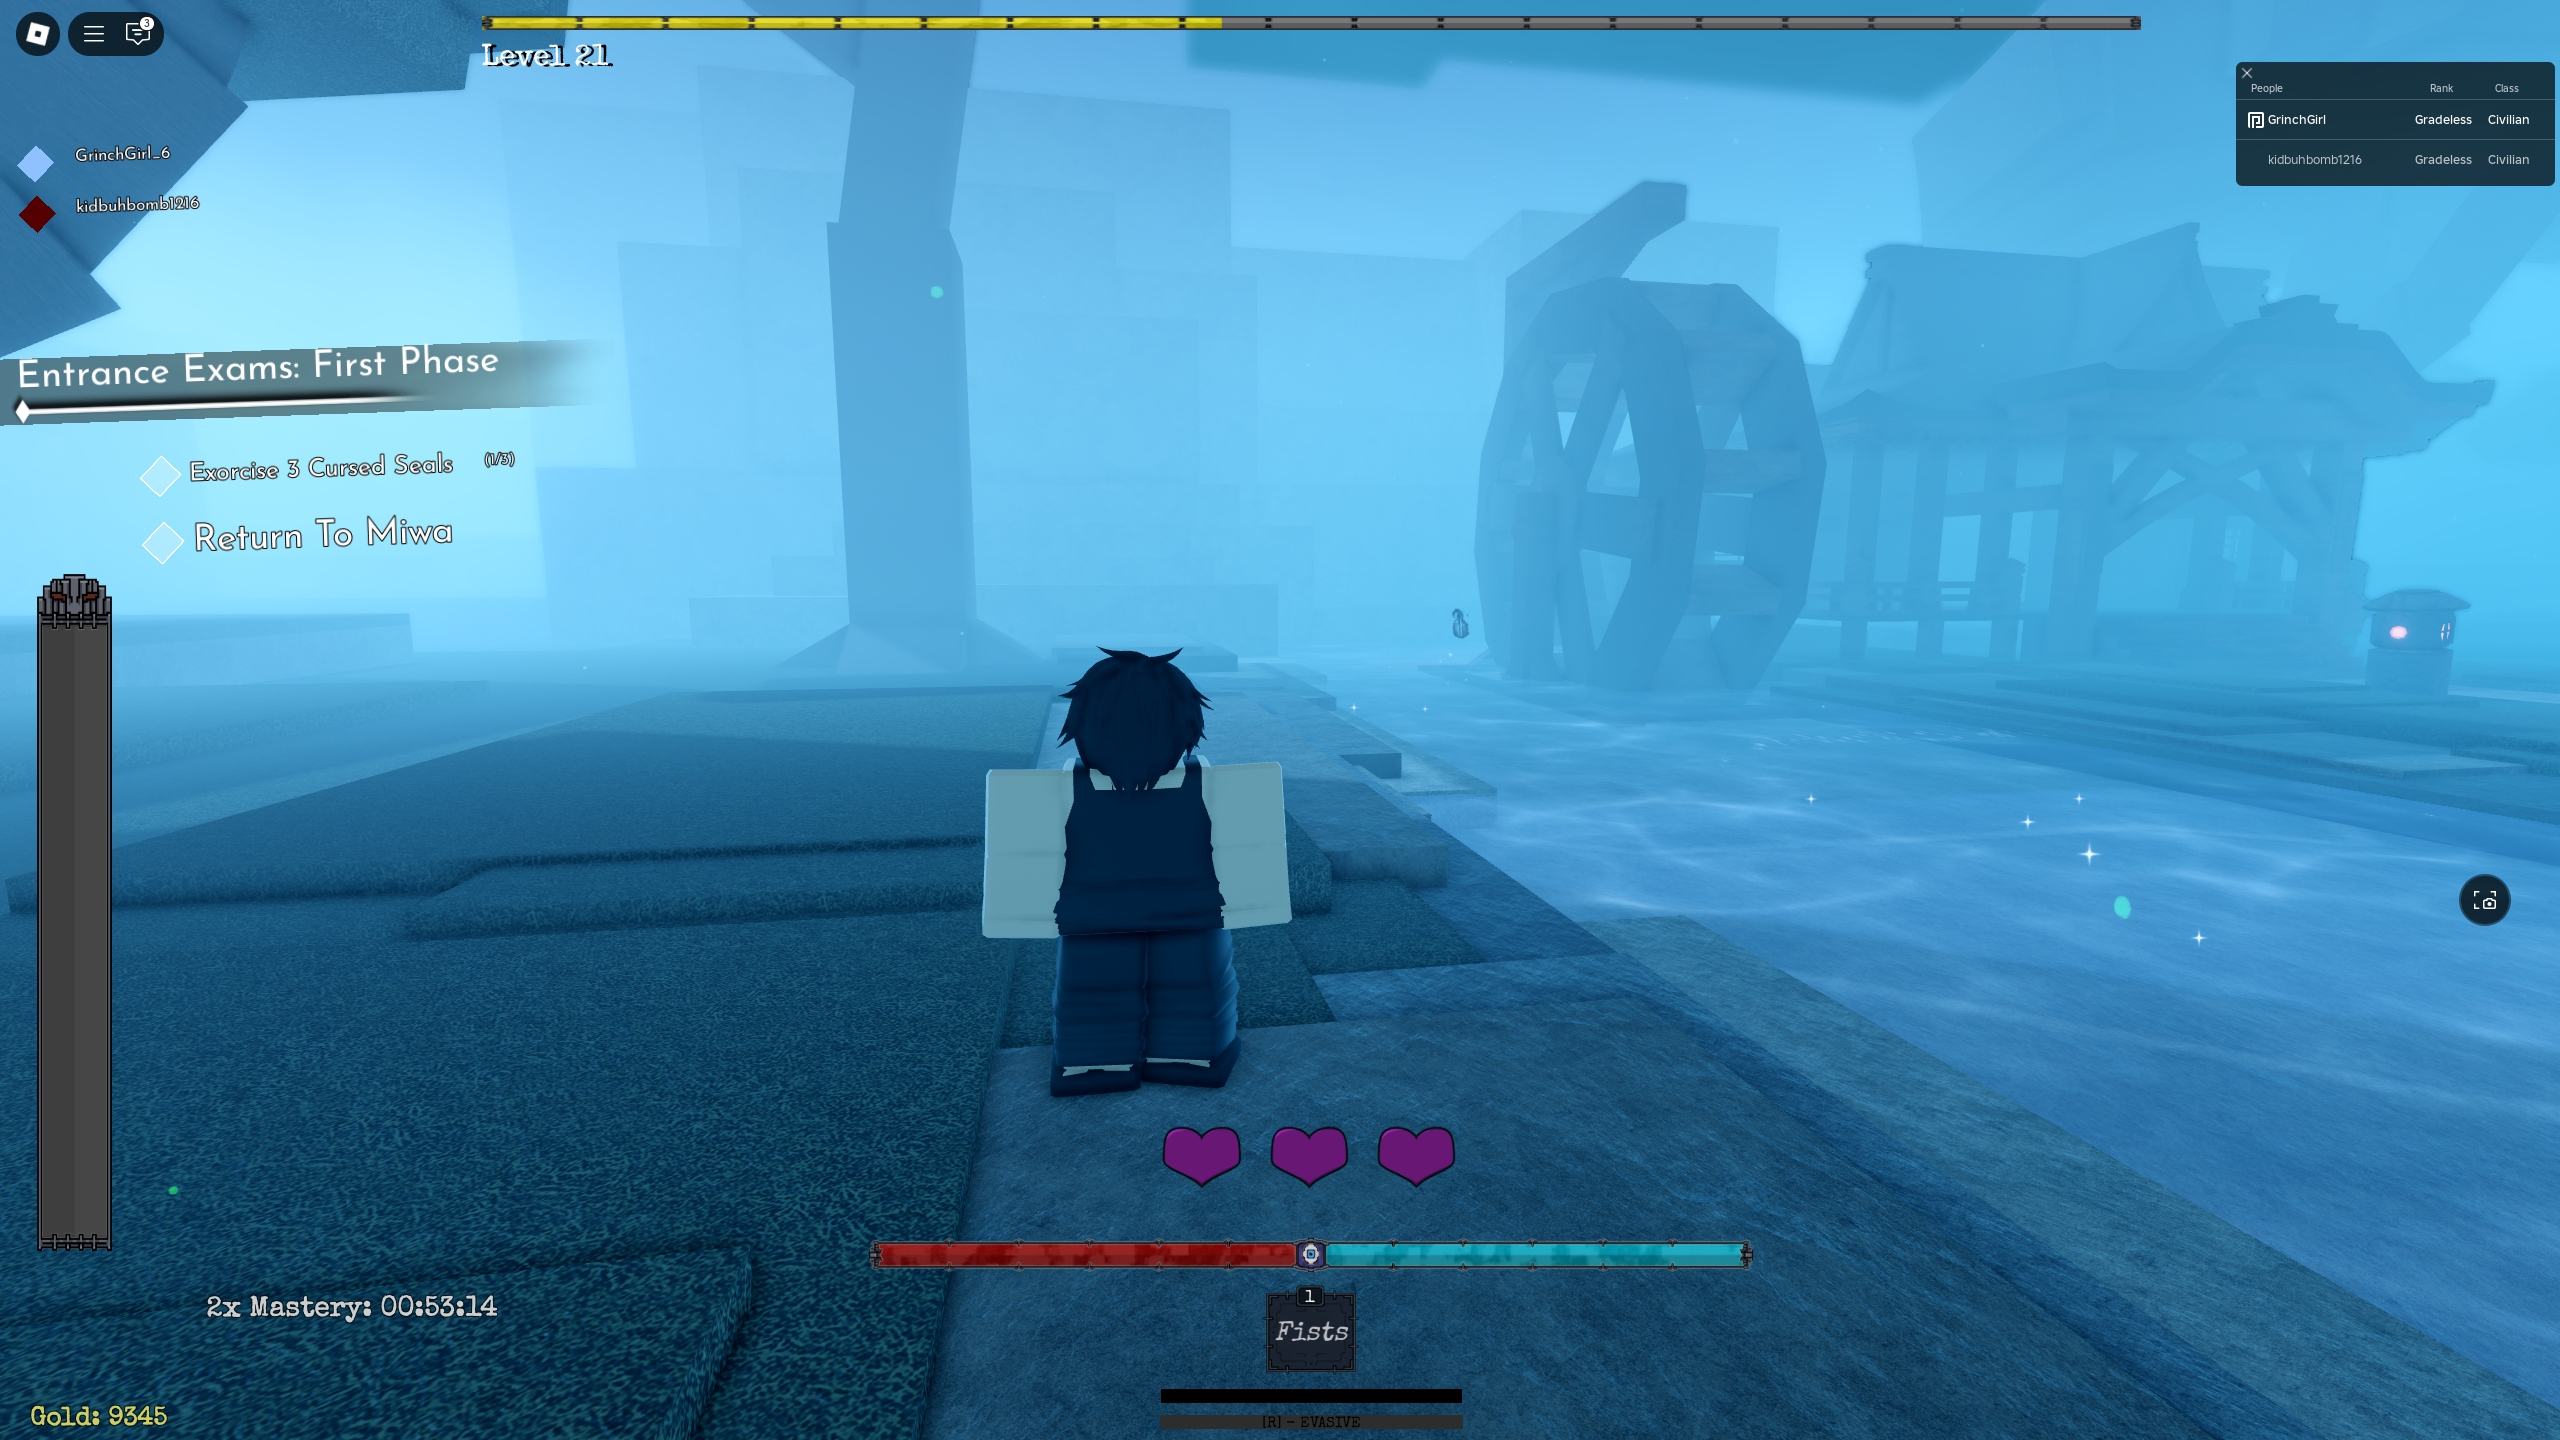
- Behind the waterwheel close to the second Quest giver Todo
You’re presupposed to hear for sound queues and search for them, however simply examine every of the places and try to be good to go and prepared for the subsequent examination.
Take a look at 2 – Killing 10 Semi-grade 3 Sorcerers

Speak to Todo and inform him that you simply’re the kind of girl is a tall one like Jennifer Lawrence (we’re rolling our eyes). He’ll order you to take out 10 mobs simply subsequent to him. This half isn’t too troublesome however can get actually annoying if you happen to aren’t cautious.

The Semi-grade 3 Sorcerers are just about the identical because the Deliquents you’ve fought OH SO MANY instances throughout the starting of the sport. We advise you to bait them one by one, block their first assault, and proceed to beat them. Rinse and repeat this, and try to be good. The one drawback right here is: that destroying 10 of them takes some time.
When you get the final one, report back to Todo, and he’ll ship you to the ultimate check (NOT!).
Take a look at 3 – Jin Inumake and Honomura

Observe: Throughout both of those fights, you’ll be able to merely RUN AWAY. Yup, we did it and we aren’t ashamed to confess it. For those who really feel like you will lose a life, simply run again to the place the principal Yaga is and wait on your well being to recuperate. It takes a couple of minutes, which is annoying however the excellent news is that the bosses don’t recuperate their well being. Positive, it’s dishonorable, however so is this complete quest, so we don’t actually care.
Comply with the hunt marker, and also you’ll meet up with Principal Yaga. He congratulates you and says not many make it this far (hey after that tutorial, we’re shocked WE made it this far, and we write guides like this for a residing). He duties you, a brand new potential scholar, with beating two of one of the best college students within the academy. Easy, proper? Yeah, we died at this half twice.
Let’s begin with the better one: Jin Inumake (the proper one). When you study his sample, he’s comparatively simple. He fires a drive push at you, which may knock you again fairly far and injury you. Fortunately, if you happen to learn to anticipate and block this, you shouldn’t have an excessive amount of hassle taking him out. So, both block or keep away from his drive assault, get behind him, punch him, rinse, and repeat.

Now for Honomura (the left one), who is unquestionably harder. Honomura has hearth assaults. He could make a volcanic explosion from the bottom, and he also can hearth a robust flame from his fists. Each of those are robust, and also you undoubtedly ought to keep away from them with the sprint. For those who don’t, you’ll be able to kill 30% of your well being goodbye.
The best way we beat him was: to dodge one among his hearth assaults, cost at him (he ought to cost again at you), block his assault, and proceed to pummel him. In fact, that is simpler mentioned than finished. Even when Honomura is busy utilizing his hearth assault, he can determine within the final second he needs to hit you as an alternative, so undoubtedly block his assault earlier than damaging him. Hold doing this till you beat him. Don’t overlook to run away in case your well being will get too low. We died twice throughout this bit, so don’t despair if it occurs to you too.
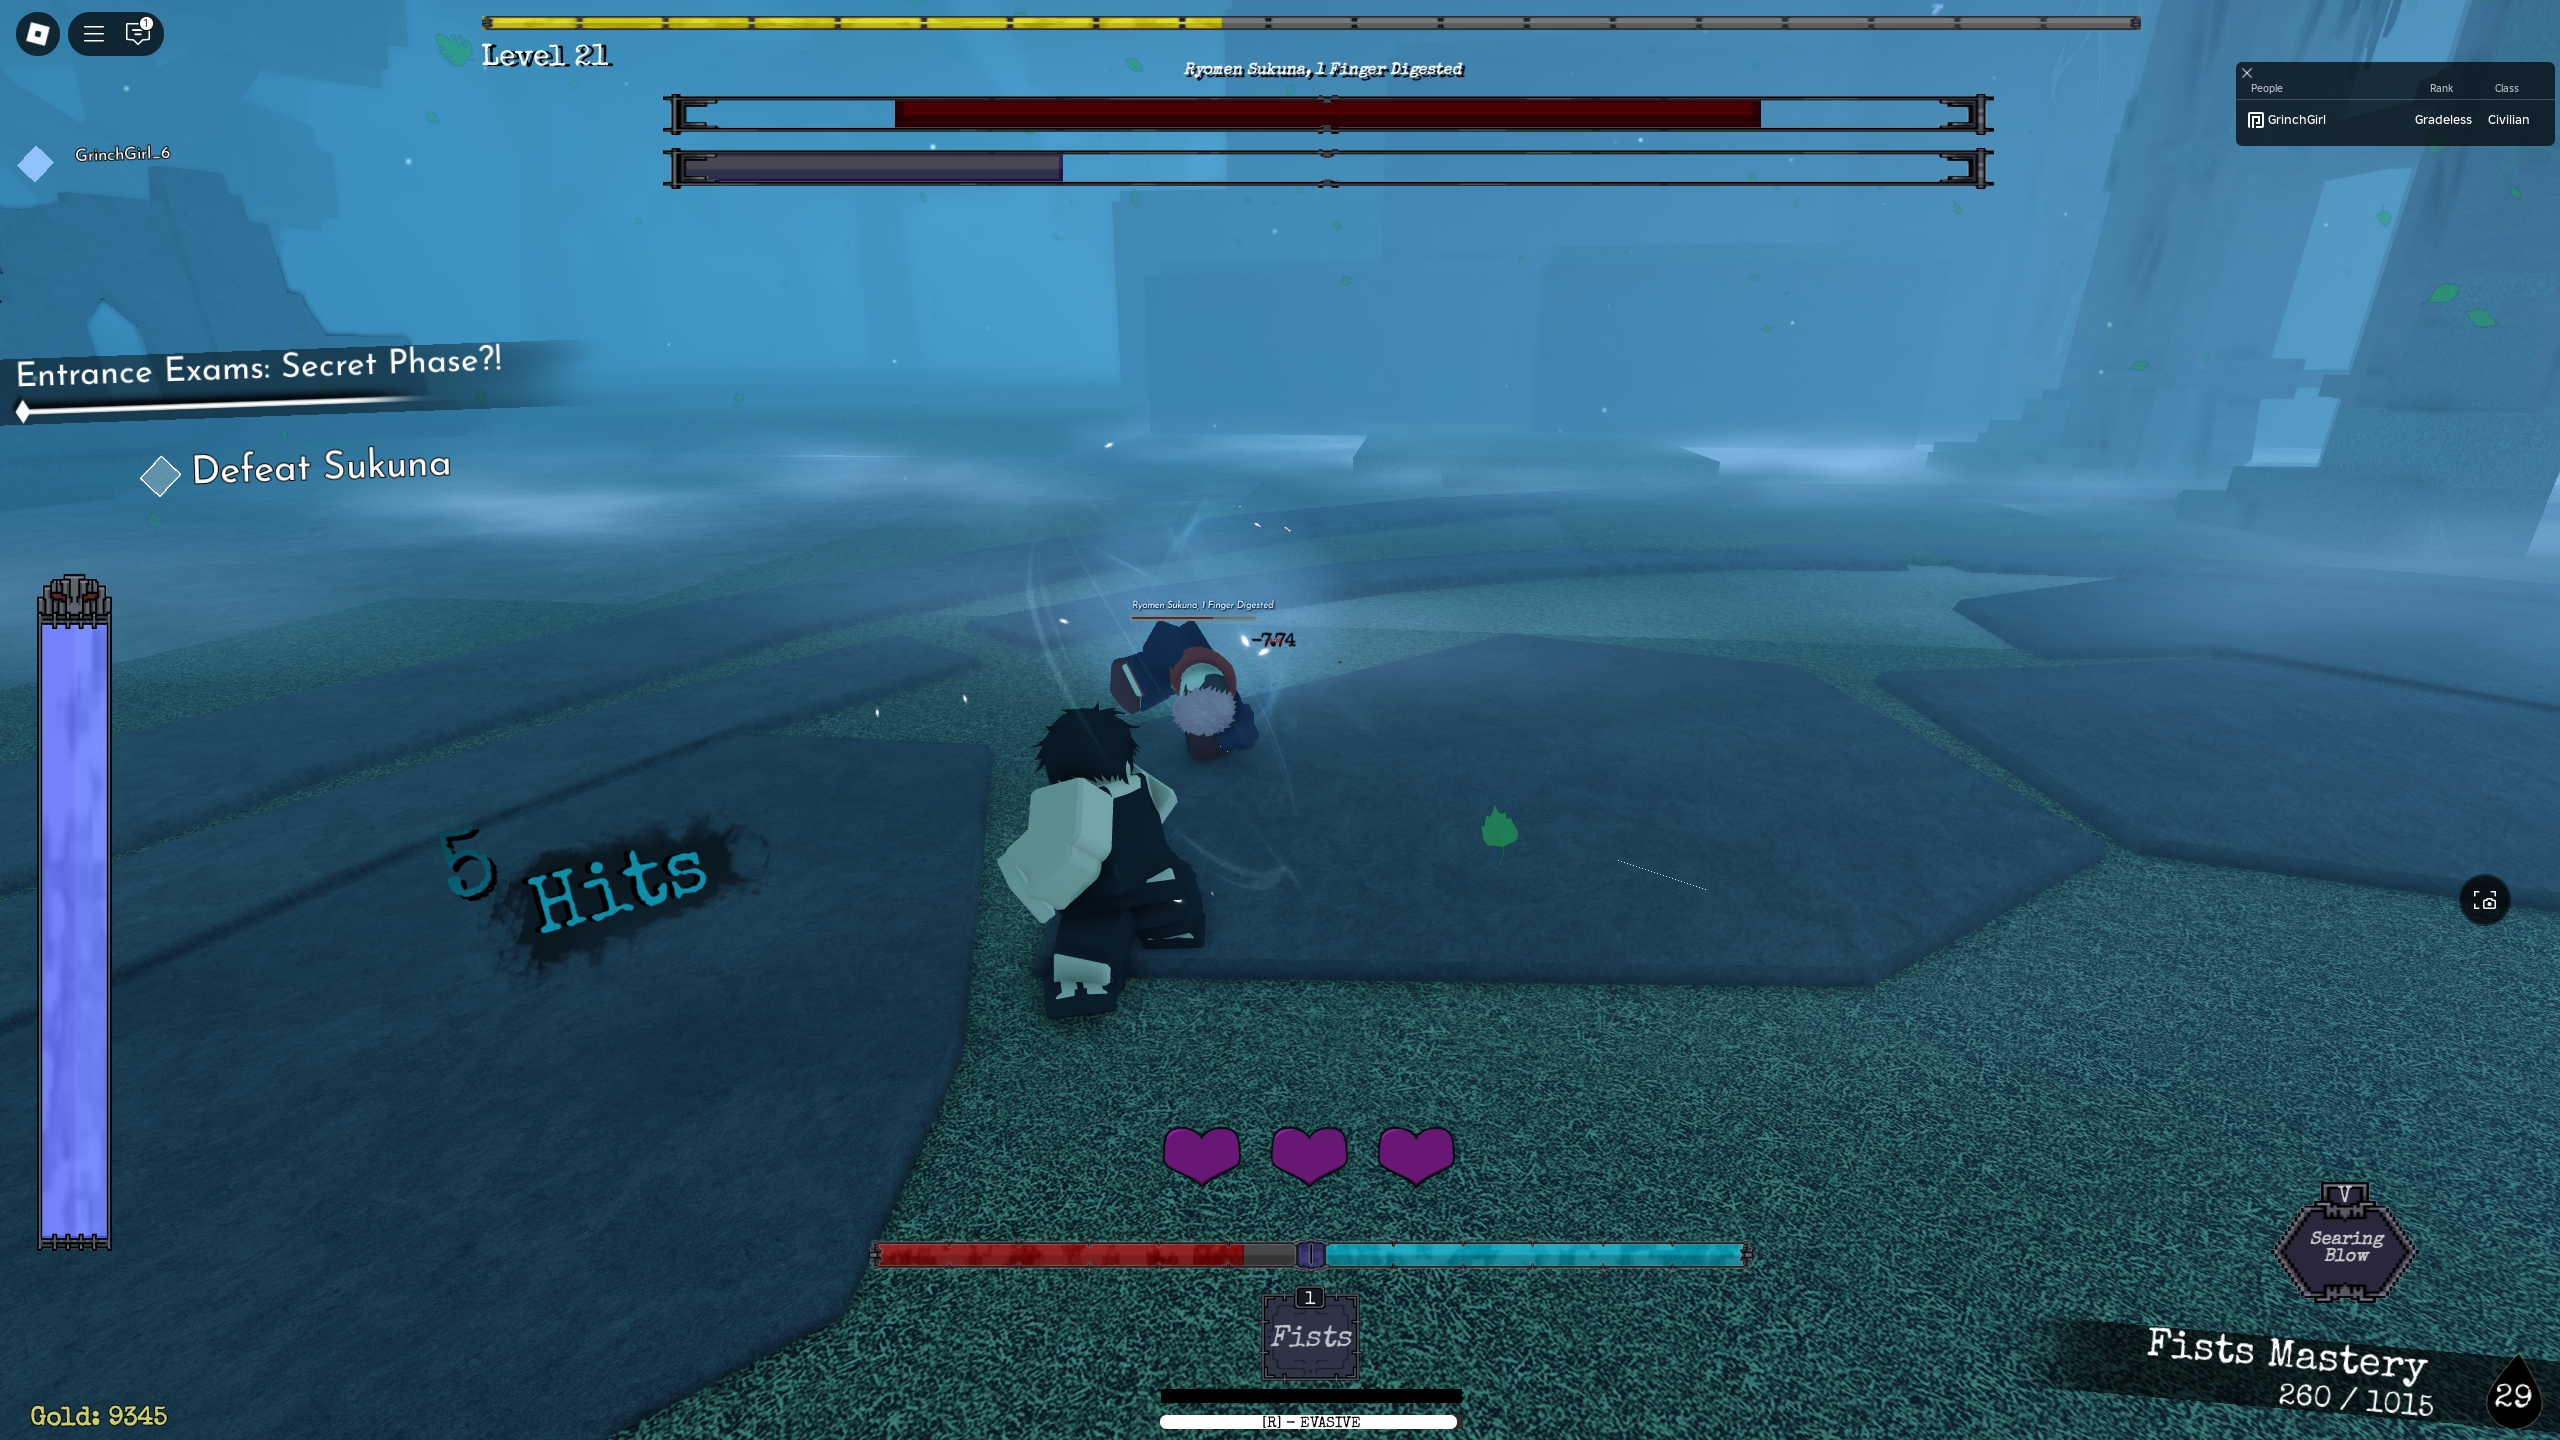
Take a look at 4 – Sukuna
Simply if you assume you might be finished with this nightmare, Itadori seems and turns into Sukuna. Seeing how the examiners don’t have anything higher to do, they determine they might as effectively add this to your check. What enjoyable!
Sukuna has three phases. Fortunately, the primary two phases are super-easy, however the third one gave us quite a lot of complications.
Throughout the first section, Sukuna will leap up on one of many towers and use an AoE assault on you. The AoE does a bit of harm, however it’s tremendous simple to keep away from. What it’s essential to do within the meantime is punch the tower Sukuna is on. Usually, you will get one string of combos on the tower earlier than it’s important to dodge the AoE assault. So, maintain doing this till the tower is destroyed and Sukuna falls. When Sukuna is down, he received’t have the ability to transfer, so take this chance to beat him. Punch him till he disappears and re-appears on high of one other tower. Simply repeat the method once more, significantly, that is the simple half. Do that till you get his well being to round 70%.

Throughout section 2, you’ll struggle Sukuna 1 on 1. Discover that beneath his crimson well being bar, there may be one other grey bar. That is Sukuna’s stagger meter. It’ll begin depleting quick. When it’s all the best way down, Sukuna might be shocked for a number of seconds, which is your probability to wreck him.
Whereas he isn’t staggered, Sukuna will attempt to run and melee you with an occasional AoE assault for good measure. All of those can simply be dodged with a great sprint assault. So, basically, simply keep away from Sukuna till his stagger bar will get all the best way down, then go for a number of assaults (you’ll be able to often do three units of combo assaults), after which rinse and repeat. Hold this up till you get him to round 40%, which is the place the hardest half begins.

Section 3… and that is the place we died twice. It’s basically the identical as section 2, with one enormous exception. Sukuna will use Area Growth. If he pulls you into his area, you may have valuable little seconds to make use of your Evasive potential and escape. In any other case, you’ll simply get broken… A LOT. We’re not even kidding, even after doing this 3 times, we nonetheless aren’t certain how the devs anticipated gamers to do that.
What it’s essential to do: is run FAR, FAR, FAR, away when Sukuna begins utilizing Area Growth. For those who get caught, and also you most likely will a number of instances, you lose greater than half your well being. Typically we managed to keep away from these; generally, we didn’t. With that mentioned, if you happen to handle to keep away from sufficient of those, and nonetheless have well being and lives to spare, you’ll be able to ultimately kill him. Some gamers even acquired Sukuna caught behind a picket pillar and managed to cheese the struggle that method, however that didn’t work for us.
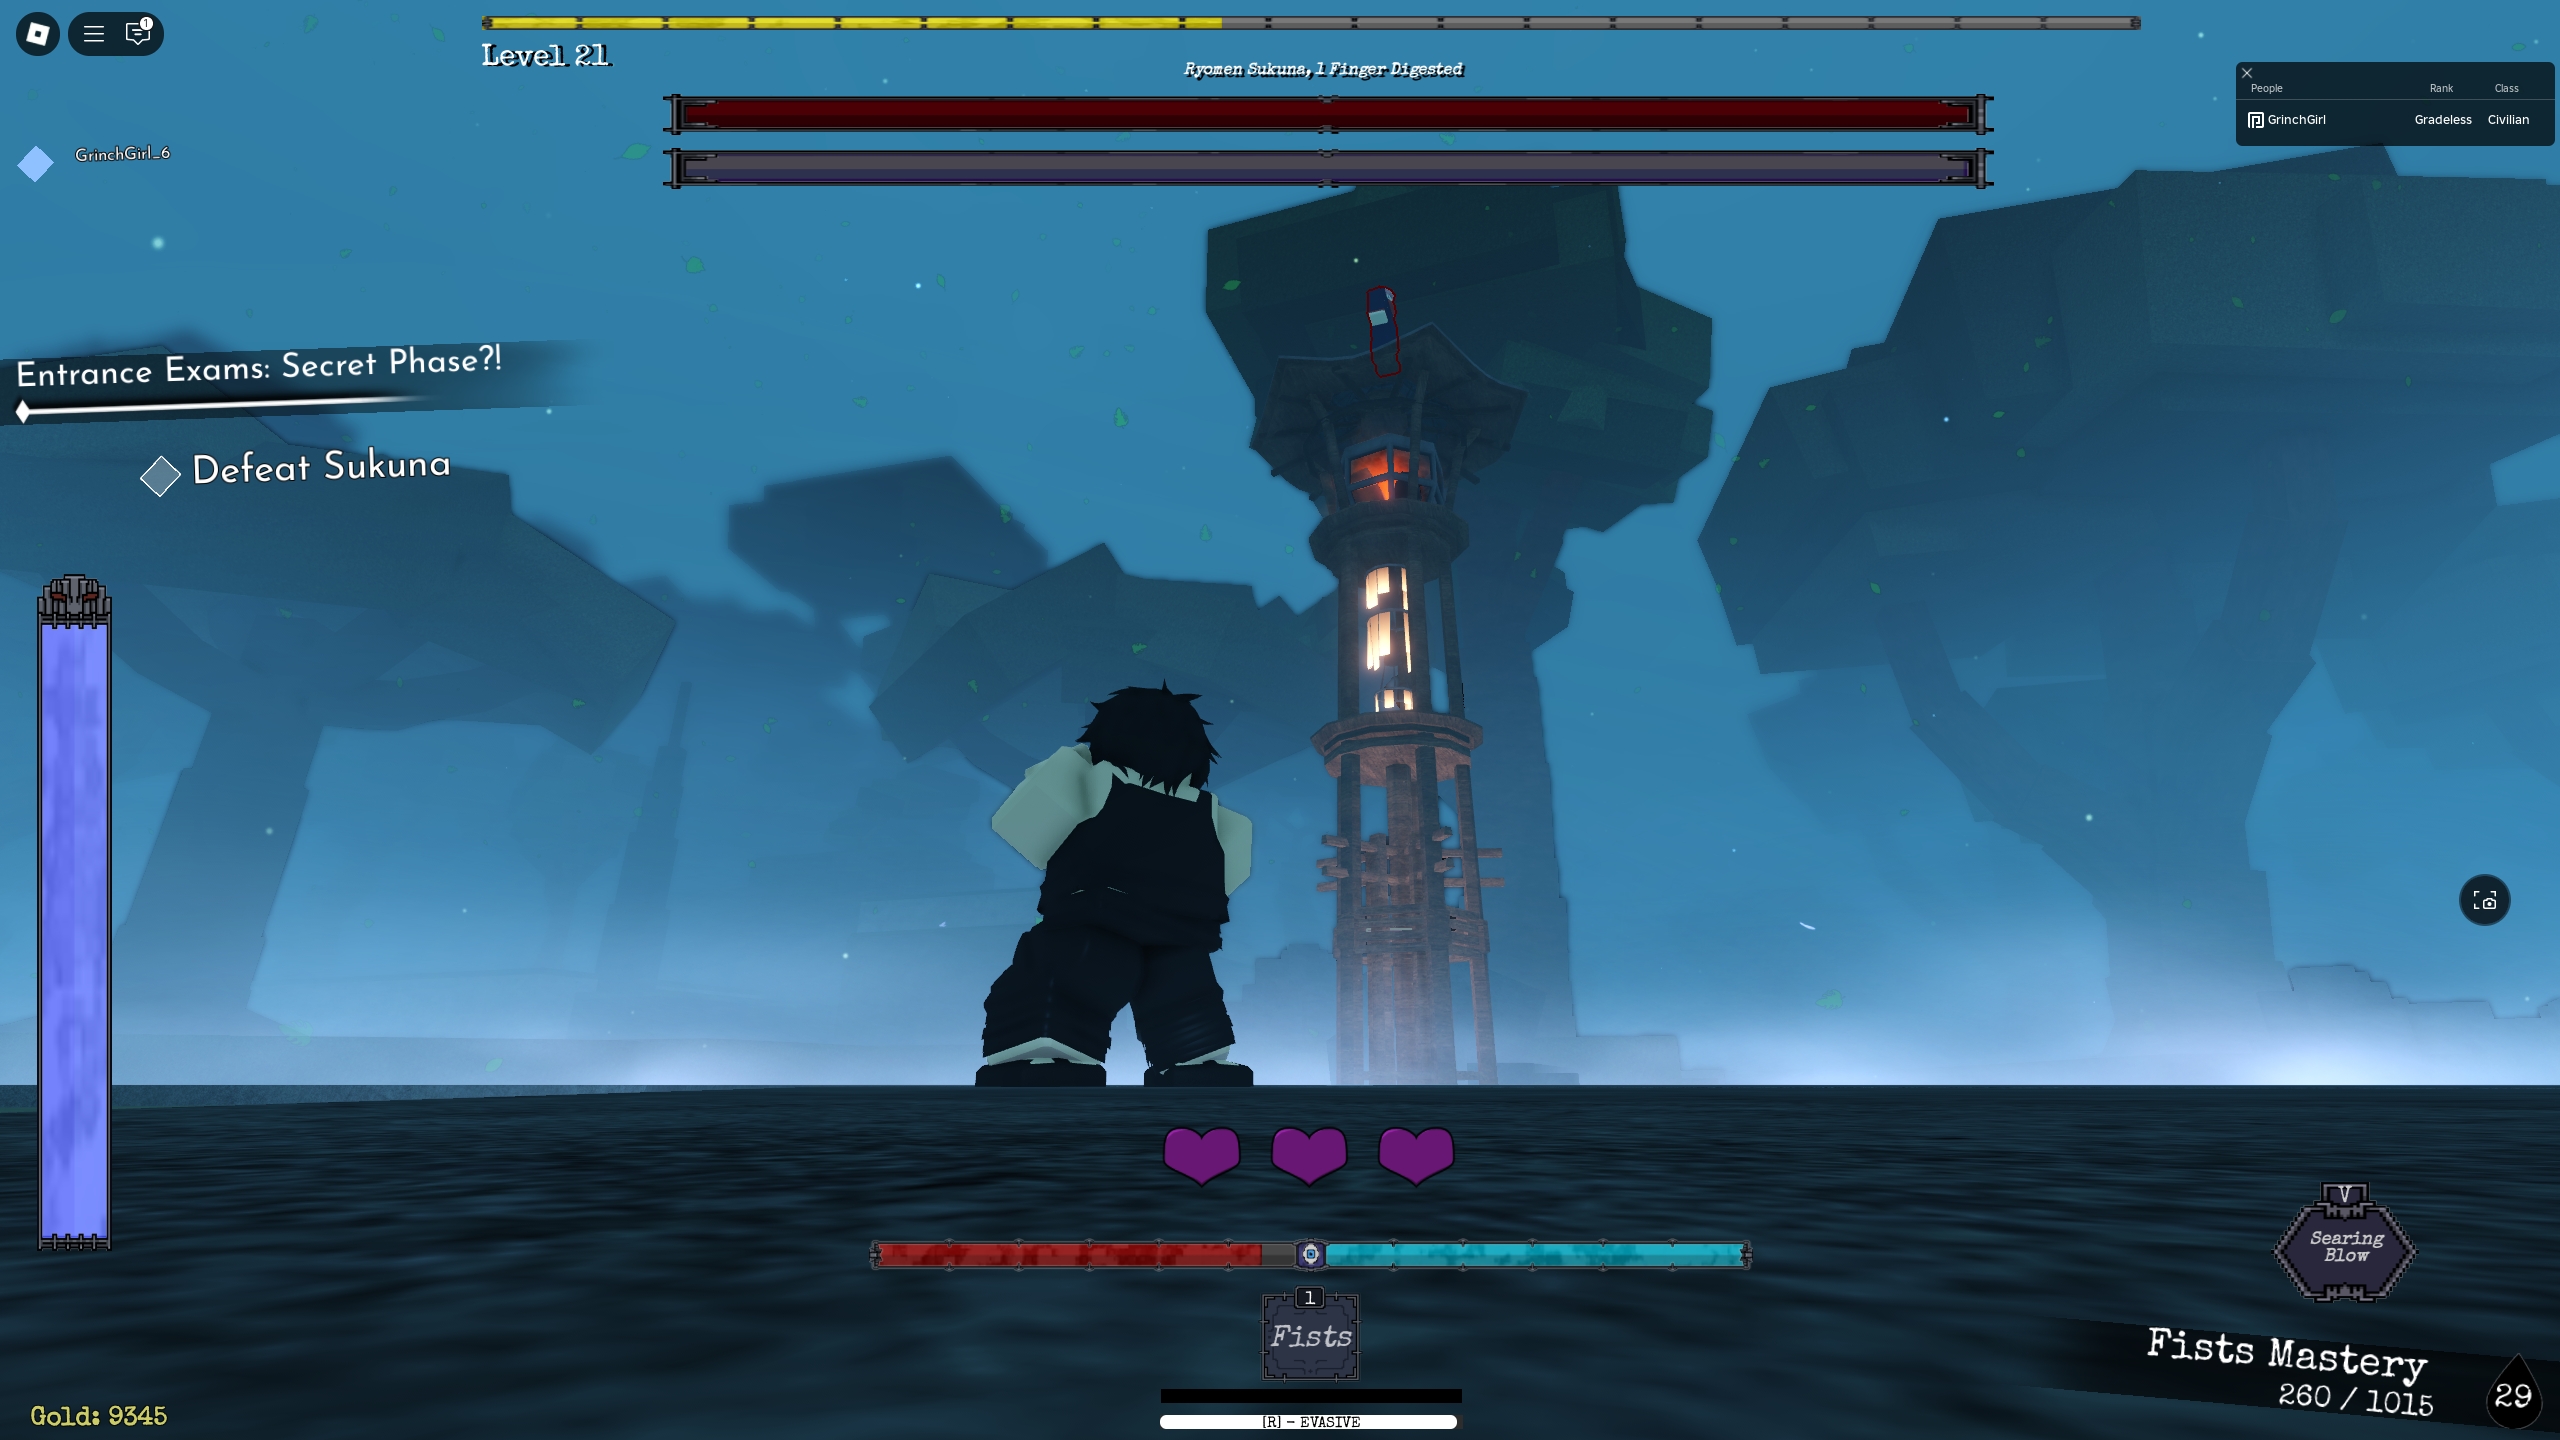
Replace: Section 3 Cheese – So we discovered a brand new cheese technique for Sukuna’s third section and it’s truthfully one of the best tactic we’ve provide you with up to now. What it’s essential to do is… steer clear of Sukuna. The round space, the place the towers have been, are type of his zone, and as soon as Sukuna leaves the confides of this space, he will get teleported again to the center. Naturally, we exploited this to the max.

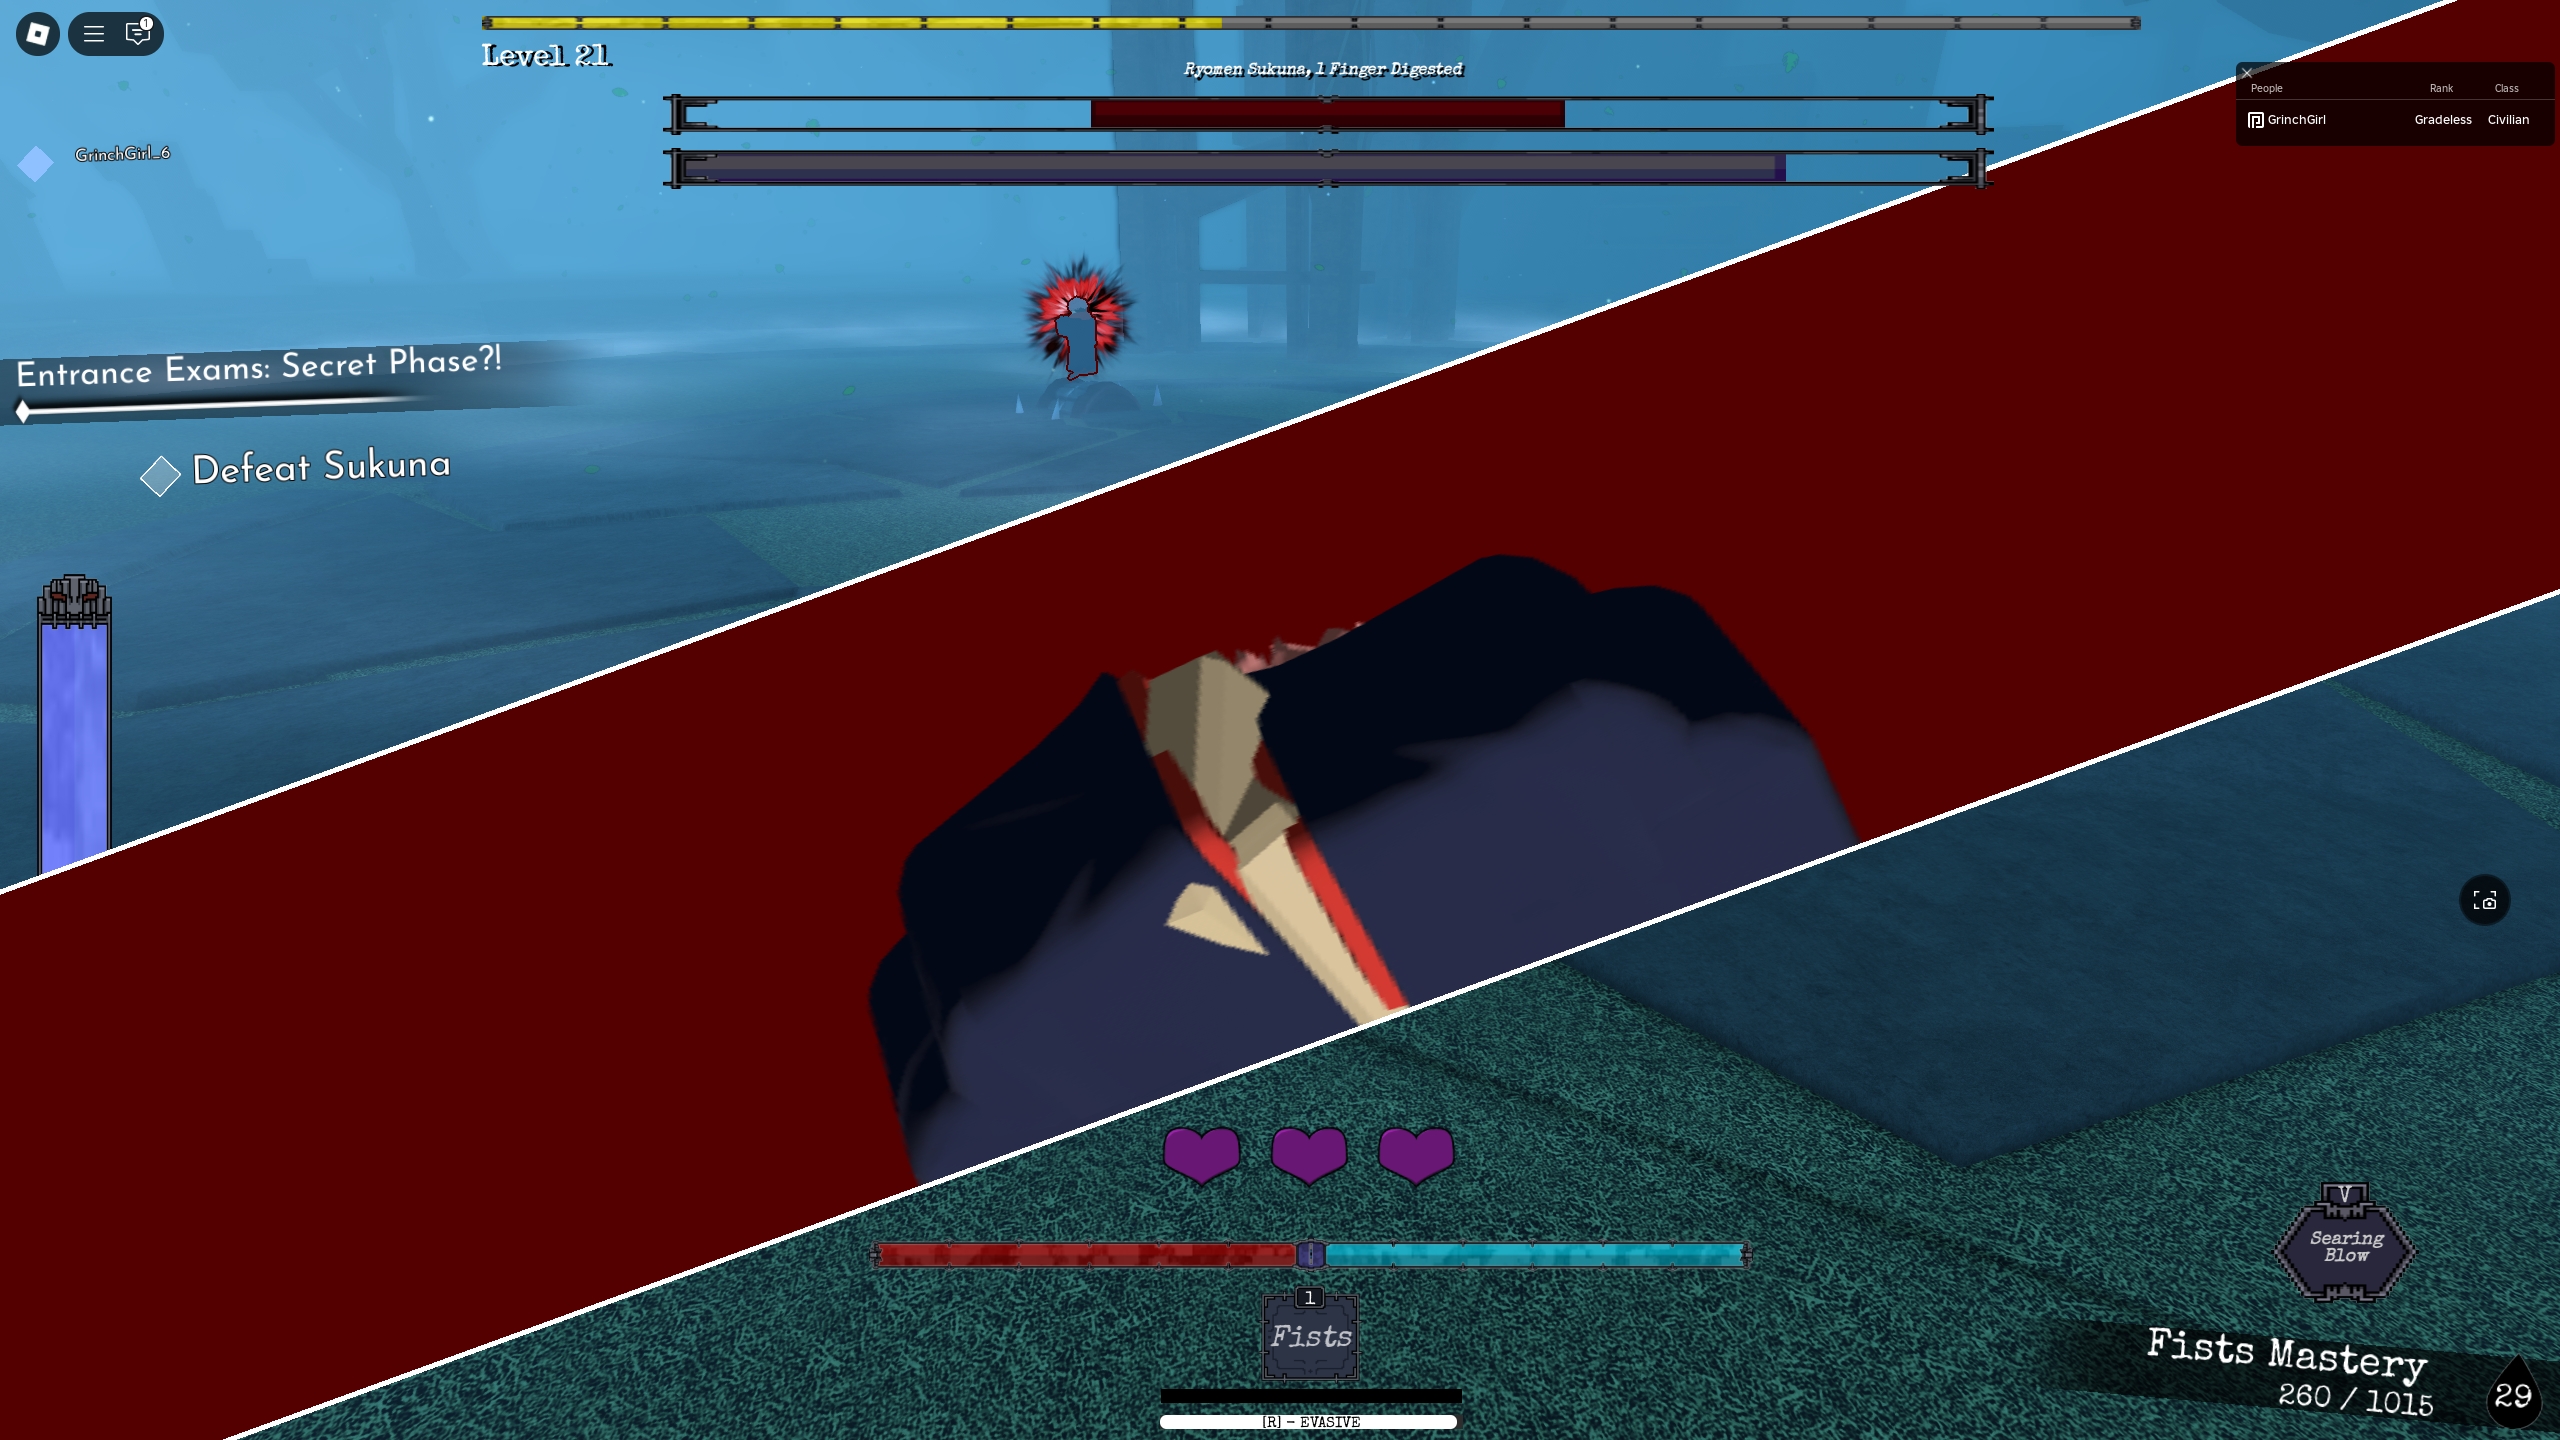
What it’s essential to do is run across the protected space (see screenshot above). Sukuna will nonetheless hearth his AoE at you (merely maintain shifting to dodge it) however will even run towards you, attempting to melee you. He will even use his extensive space AoE, which received’t attain you, making this tactic tremendous efficient. Solely the assault, when the display screen turned crimson was capable of attain us, however it solely occurred twice throughout the fights (we didn’t even die as soon as).
You actually don’t have to fret about him meleeing you, as a result of he’ll get teleported again earlier than he will get even shut. Nevertheless, you continue to want to wreck him. So, what it’s essential to do is regulate his stagger bar. When it’s virtually depleted, cost at him (by the point you attain him, it ought to be totally depleted), ship one or two strings of combo assaults and run again to the place it’s protected. Cowardly? Positive! Efficient? Completely. Sukuna will maintain spamming his extensive and smaller AoEs at you, however so long as you retain shifting, you’ll be protected. Hold this cowardly tactic up till you beat him.

Whenever you handle to destroy him, you’ll get two chests. One with a random reward and one with a Cursed Womb (which provides you your first Cursed Approach), and you may really begin enjoying the sport.

For those who get annoyed throughout this struggle and stop, we actually don’t blame you. If it wasn’t our job to do these guides, we’d have stop way back.
That’s all there may be to it. Good luck with the doorway examination. For those who want a lift, take a look at our Jujutsu Odyssey codes.


