#Full Mo.Co Gadget tier record: All devices ranked

Table of Contents
Each hunter must have an arsenal of devices as a method to additional their survivability. You’ll have a number of objects to work with initially, however they aren’t precisely the most effective within the enterprise. So, if you’re interested by establishing your construct, right here’s our Mo.Co gadget tier record.
Finest Mo.Co Devices, ranked
The Splash Heal is the very first gadget you’ll obtain in Mo.Co, appearing as a starter package on your hunter journey. Whereas it does help in help, different objects lean extra in the direction of offensive methods. We’ll start this Mo.Co tier record with the elite S tier and work our manner right down to the comparatively enough C ranks.
S Tier
| Devices | Description |
|---|---|
| Vitamin Shot | Will increase assault velocity and heals you and your pets. |
| Multi Zapper | Launches 12 zaps to break a random enemy and stun non-boss monsters. |
Because the Vitamin Shot helps out with therapeutic and assaults, it could be one of the well-rounded devices in Mo.Co. Its cooldown fee of 10 seconds also can go by slightly shortly, providing you with extra alternatives to make use of it in battle. Whereas the Multi-Zapper takes a bit as well up, this gadget boasts the very best DPS in Mo.Co. Plus, it’ll stun close by monsters that will help you out much more.
A Tier
| Devices | Description |
|---|---|
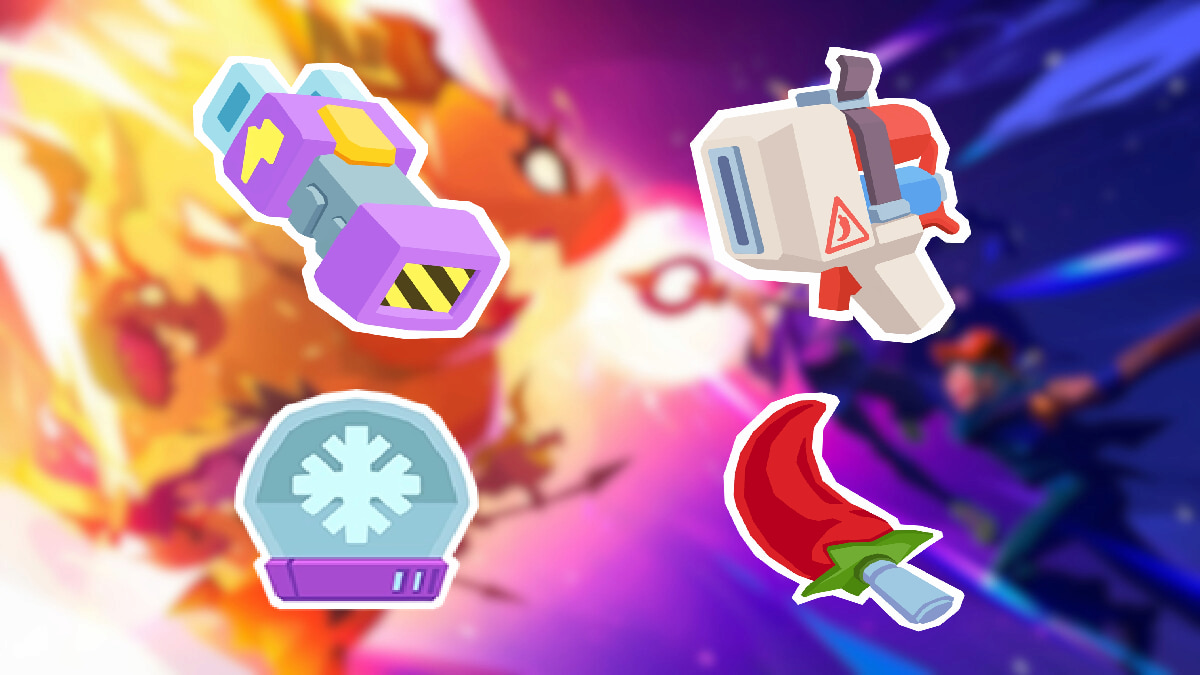
| Monster Taser | Tases the closest enemy and offers large injury, beautiful non-boss monsters. |
| Pepper Spray | Offers space injury a number of instances and decelerate non-monsters. |
| Snow Globe | Offers space injury round you and over time throughout a big radius. Slows down all non-boss monsters. |
| Spicy Dagger | Sprint in the direction of the closest enemy and deal injury, leading to 25 % extra injury out of your weapon, devices, passives, and pets quickly. Non-boss monsters are additionally slowed down. |
When you’re uninterested in ready for gadget cooldowns, the Monster Taser is the proper treatment, refreshing each 5 seconds. Use it to inflict excessive quantities of harm on a monster and stun close by enemies. All in all, the whole lot of A Tier is designed for great DPS charges, clearing out these pesky monsters instantly.
B Tier
| Devices | Description |
|---|---|
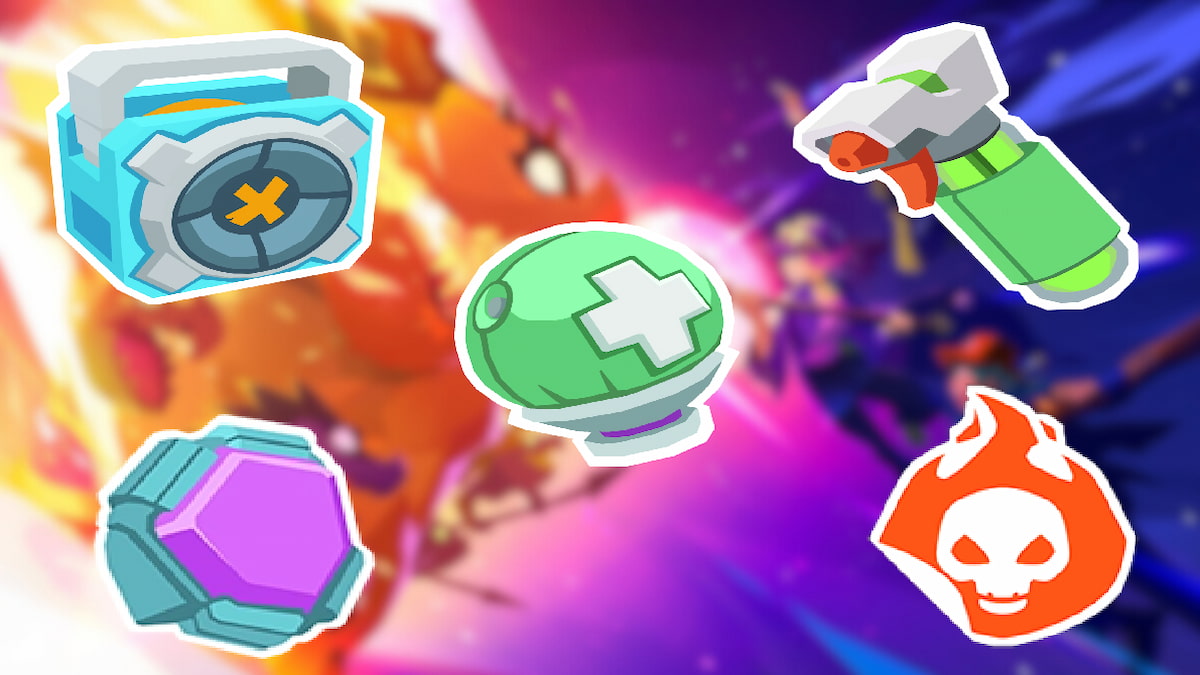
| Splash Heal | Immediately heals you and close by pleasant targets in a big space. |
| Boombox | Offers space injury round you and stuns non-boss monsters. |
| Life Jacket | Shields your self and your pets quickly. Offers space injury and stun non-boss monsters when it expires. |
| Revitalizing Mist | Immediately heals you or a pleasant goal with the bottom well being inside vary. |
| Actually Cool Sticker | Your weapon and pets deal further injury for a brief period. |
The B Tier Mo.Co devices cater to particular playstyles, significantly in the event you’re a support-heavy hunter. Gadgets like Splash Heal, Life Jacket, and Revitalizing Mist are wonderful for some of these gamers; nonetheless, they aren’t so nice for offense. Happily, it can save you it as a secondary gadget slot and make the most of the opposite one for assault buffs.
The remainder of the B-tier devices can be utilized by those that wish to enhance their offense. They received’t be as highly effective because the S and A Tiers, but they do have some advantages with first rate injury charges.
C Tier
| Devices | Description |
|---|---|
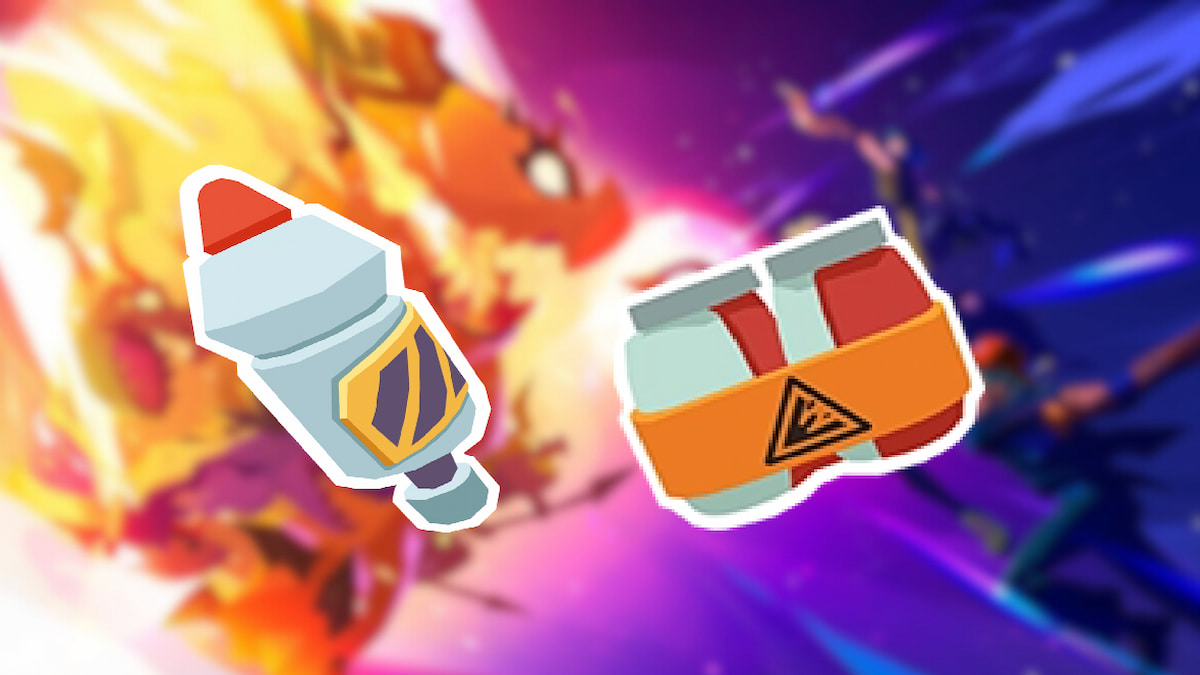
| Sensible Fireworks | Use to launch 5 enemy-seeking fireworks that deal space injury at a long-range. |
| Explosive 6-Pack | Bounce and drop bombs in midair to deal space injury. |
Though the Sensible Fireworks turn out to be useful in the course of the starting phases, they received’t be as useful afterward. The opposite devices are simply far more sturdy than this merchandise, however I nonetheless recommend utilizing the Sensible Fireworks as a starter package after which advancing additional to larger tiers. The identical goes for the Explosive 6-Pack, which solely has some benefits for DPS.
D Tier

| Devices | Description |
|---|---|
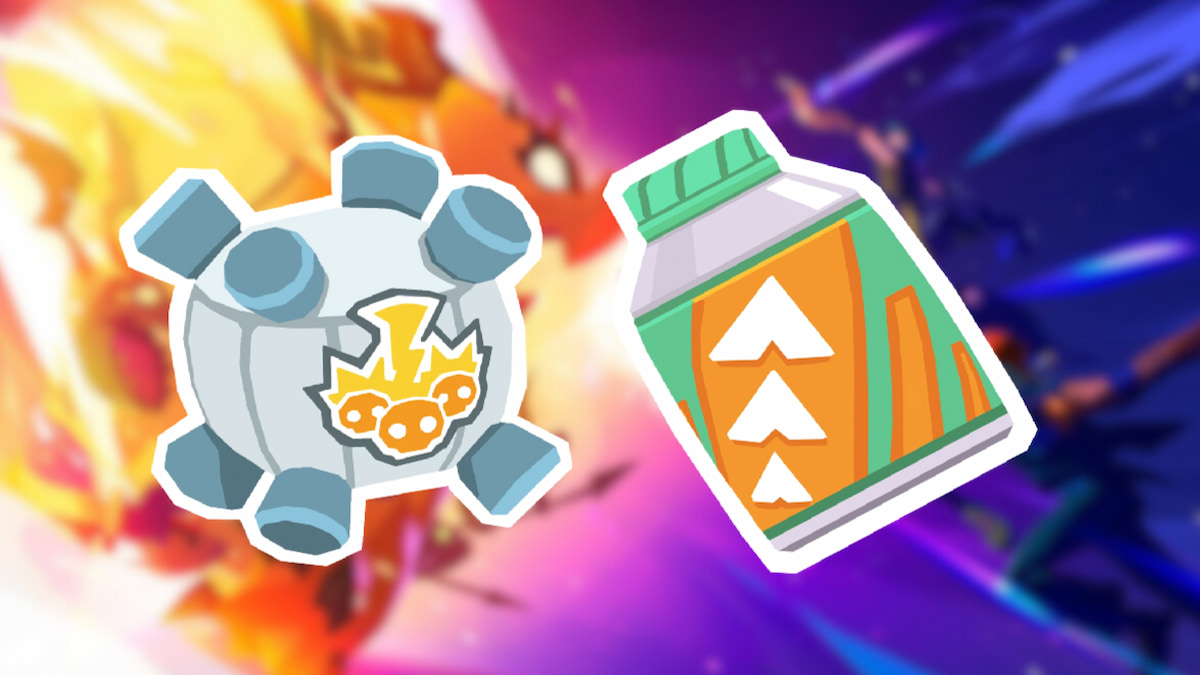
| Tremendous Loud Whistle | Taunts monsters to assault you and heals your self over time. |
| Shelldon | Summon Shelldon to struggle alongside you, dealing space injury and taunting monsters to assault him. Shelldon’s robust armor makes him take 50 % much less injury. |
The Tremendous Loud Whistle could also be one of many worst devices to make use of in Mo.Co, particularly since all surrounding monsters will begin gunning for you. Regardless of its therapeutic properties, choosing the Splash Heal is greatest. That manner, you may replenish your well being with none enemies coming for you.
Just like the whistle, Shelldon can be comparatively ineffective, because it doesn’t keep too lengthy on the battlefield. This gadget’s capability to soak up 50 % much less injury doesn’t work on a regular basis, so it’s fairly simple for the enemy to knock it out.
For extra Supercell sport content material, you should definitely take a look at our character tier record and code items for Brawl Stars.


