#Area Marine 2 – Destructoid

Table of Contents
The ultimate boss in Warhammer 40K: Area Marine 2 is a rematch with Imurah, however he’s introduced a pal with him. A portal to the Warp has been opened, and due to it, a Chaos Demon can be a part of this struggle at full power.
After besting Imurah earlier on within the Warhammer 40K: Area Marine 2 marketing campaign, I believed the second battle with him could be powerful however just about the identical. I couldn’t have been extra unsuitable, as a result of this bos struggle options the most important foe you’ll immediately struggle within the recreation, a Chaos Demon of epic proportions. So not solely do you have to defeat a Chaos sorcerer, however you’ve bought to do it whereas taking a hammering from an historic god-like creature.
Find out how to defeat the Imurah and Chaos Demon last boss in Warhammer 40K: Area Marine 2
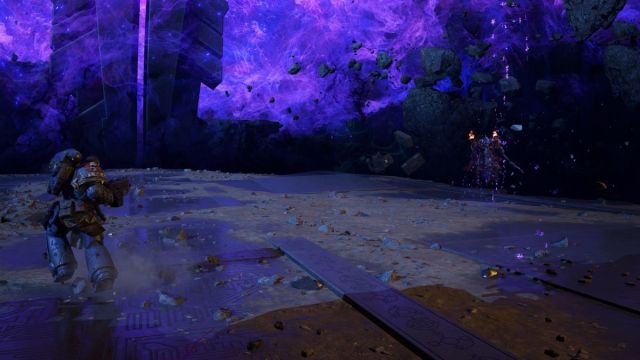
The primary a part of the struggle in opposition to Imurah and the Chaos Demon in Warhammer 40K: Area Marine 2 will see you struggle it out in opposition to the Chaos Area Marine. He’s fairly tough to hit as a result of he darts and teleports across the area. He additionally has a behavior of summoning Thousand Suns into the world, whom you’ll must dispatch fairly quick for those who don’t wish to get overwhelmed.
After you’ve broken Imurah sufficient, he’ll teleport Titus to a darkish realm. There isn’t any ammo or well being right here. It’s only a place the place you will need to defend your self from assaults from Imurah. After a number of profitable parries, you’ll be transported again to the world, however now a Chaos Demon will present up.
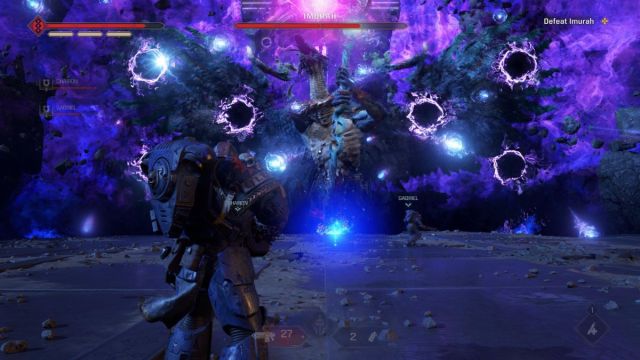
This Chaos Demon has a number of totally different assaults that you would be able to’t do something about. You’ve bought to dodge than and make it via every section to struggle Imurah as soon as extra. The assaults I noticed included a number of black holes opening and firing balls of electrical energy, an assault with partitions of sunshine that rush towards you, and an assault the place the Chaos Demon slams its spear to generate a shockwave that you will need to dodge via.
In direction of the tip of the struggle, the Chaos Demon will seem with a glowing crimson eye and begin inflicting the world to blow up beneath your toes. You should shoot the crimson eye till it’s broken sufficient that the Chaos Demon retreats to cease this assault and transfer into the following section.
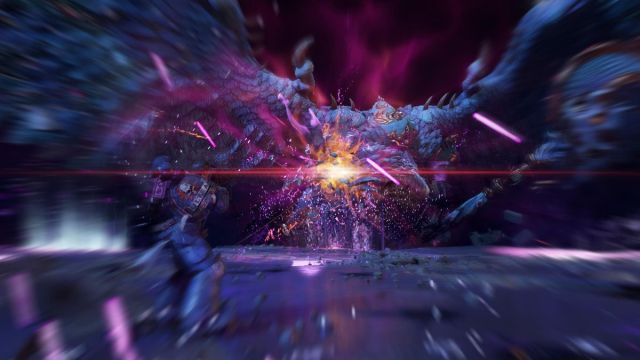
Imurah will change into extra aggressive with each section of the struggle. He’s going to stand up shut and private, so don’t be afraid to make use of your Particular Ways to hit him with a number of overpowered melee assaults of your personal for enormous injury.
I discovered that parrying was one of the best strategy for this part of the struggle. In case you dodge, Imurah simply pull out a crimson assault that you would be able to’t block or parry. By parrying his blue assaults, you forestall Imurah from firing off crimson ones and get a number of cheeky countershots in on him, too.
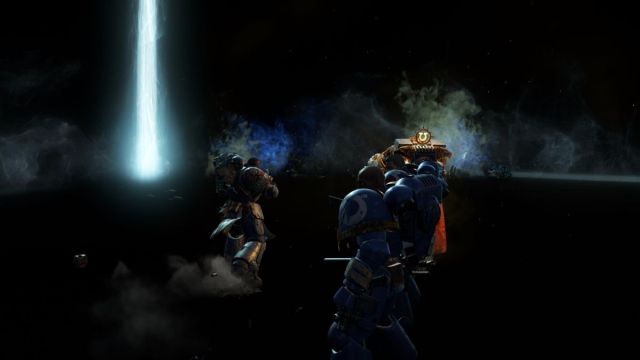
Lastly, after a brutal struggle, Imurah will transport you and your workforce to the identical location as Calgar. This darkish place isn’t harmful. You’ve simply bought to stroll via it. Shoot the Thousand Suns who seem to show them to mud. Each sorcerer you encounter will probably be killed by Calgar as he approaches them.
The ending of Warhammer 40K: Area Marine 2 will play out after you attain the glowing mild, and it’s wonderful. There’s a lot to soak up, so skip via the credit for those who don’t wish to watch all of them, and get to the great things on the finish.


